Are you crafting this weekend? Maybe some spring themed crafts? Don’t forget about the April Sale happening now in the Lori Whitlock SVG Shop!
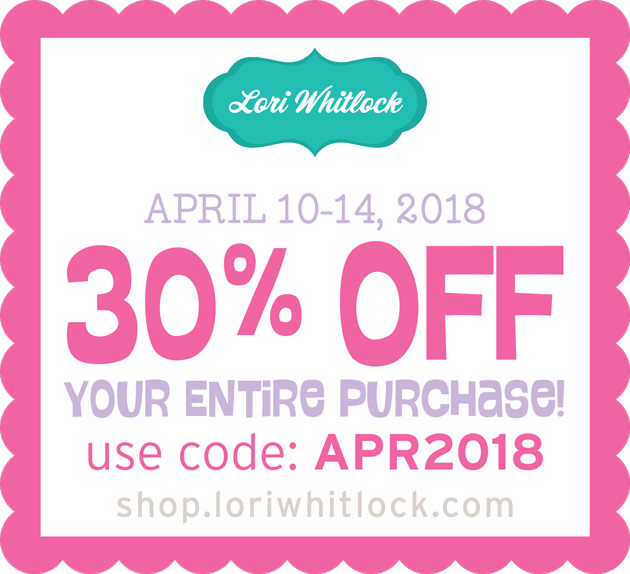
All files are 30% off through tomorrow at midnight! Just use code APR2018 at checkout! Have a great day!

Are you crafting this weekend? Maybe some spring themed crafts? Don’t forget about the April Sale happening now in the Lori Whitlock SVG Shop!
All files are 30% off through tomorrow at midnight! Just use code APR2018 at checkout! Have a great day!
Hi there crafty friends! Brandie here with a tutorial for the decorative cutting board I made for my chicken loving aunt.
I found this cute shaped cutting board at Michael’s they also had a few other shapes as well. But I needed the chicken.

The Farm Fresh Eggs comes from the Farm Animal Dingbats Font. You can find it here in Loris shop and here in the Silhouette store. This type of file is uploaded like a new font to your computer that can then be used in your cutting software.
Once I had the font loaded to my computer I typed out the alphabet until I found the image I wanted. In this case it is the letter O.

I enlarged the image to 8 inches wide and sent it to my cutting mat. I cut the image out of chalkboard vinyl. I like how sticky it is and the texture it gives to the words.

When possible I like to weed my cut images while they are still on the cutting mat. So that when it comes time to place the transfer tape the image is flat and secure.

I centered my cut image on the cutting board using the jute hanger as a guide.

Pressing firmly I rubbed each letter then peeled up the transfer tape.

Here she is all cute and ready to ship. Enjoy the rest of your week and thanks for stopping by!
Brandie

Today at Snap Click Supply I have two items featured for $1 on Wednesday!. That means you can pick up 2 of my digital scrapbooking products at a steal. TODAY ONLY!
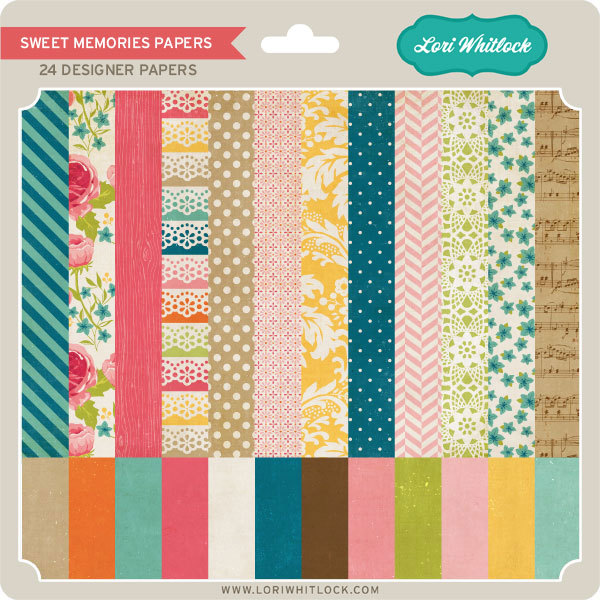
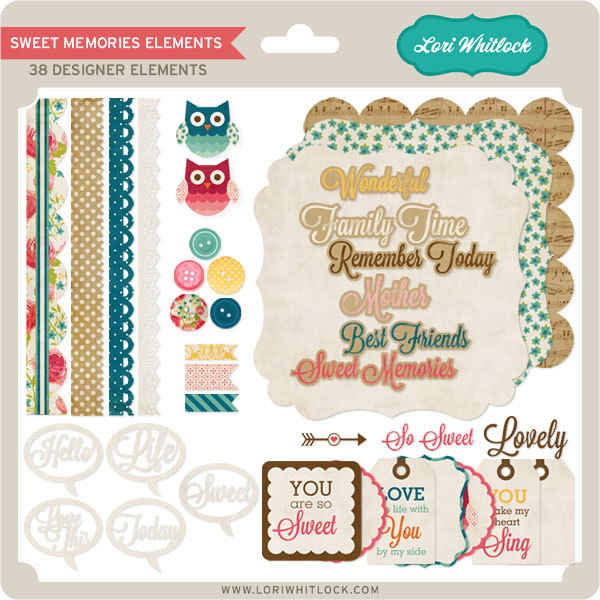
Be sure to go grab these great deals while you can. These offers will end at midnight!
Welcome to our April 2018 Creative Team Blog Hop! The creative team has been working hard on some new projects to share with you that will get you in the crafting mood. We also have a huge release of new SVG files for you this week and a GIVEAWAY! Be sure to check them out below. Oh, and there is also a FREE FILE for you!
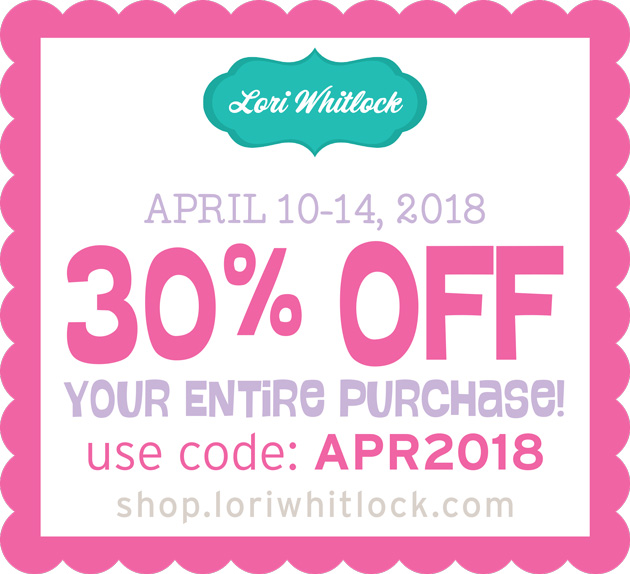
This week we have a 30% OFF SALE going on at Lori’s SVG SHOP. ALL files (and commercial licenses) from Lori Whitlock, Kolette Hall, Doodlebug Design, Dresden Carri, Paige Evans, Rivka’s Renditions and SAS Creative are on SALE now through Saturday, April 14th! Be sure to use coupon code: APR2018 (case sensitive) at checkout in the SVG SHOP. (Only one coupon code per order allowed)
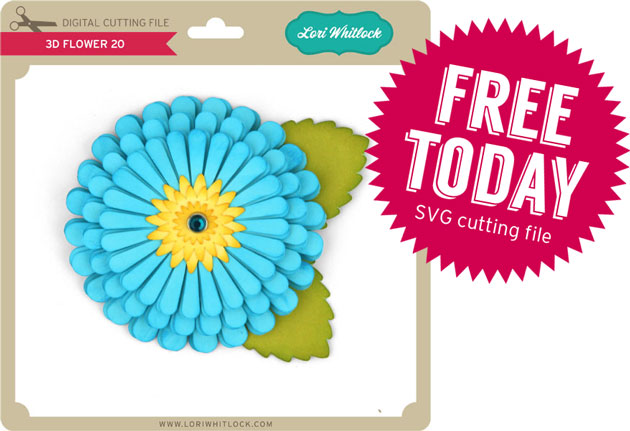
To thank you for joining us in the hop today and sharing the hop with your friends, we have a gift for you! TODAY ONLY, You can download this 3D Flower 20 file absolutely FREE! Be sure to go grab it while you can.
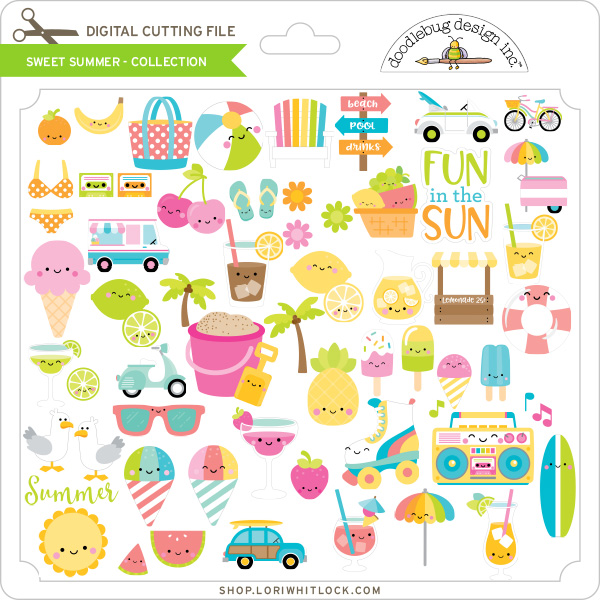
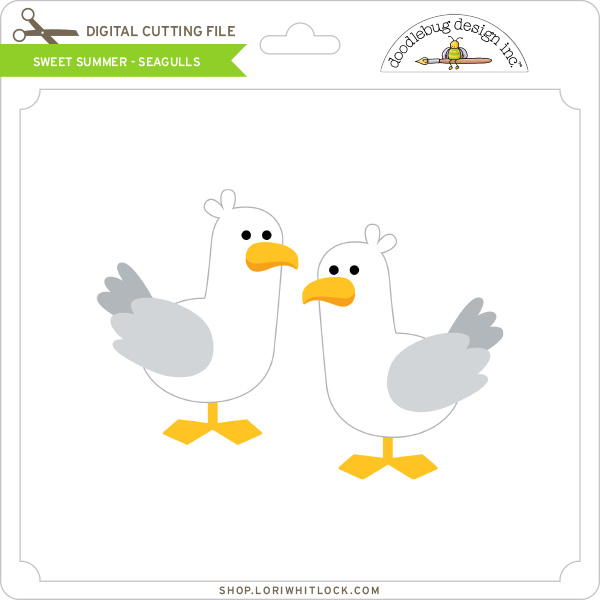
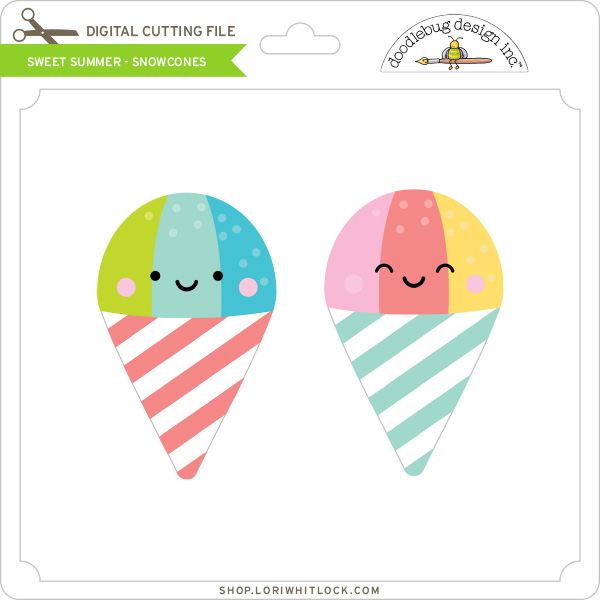
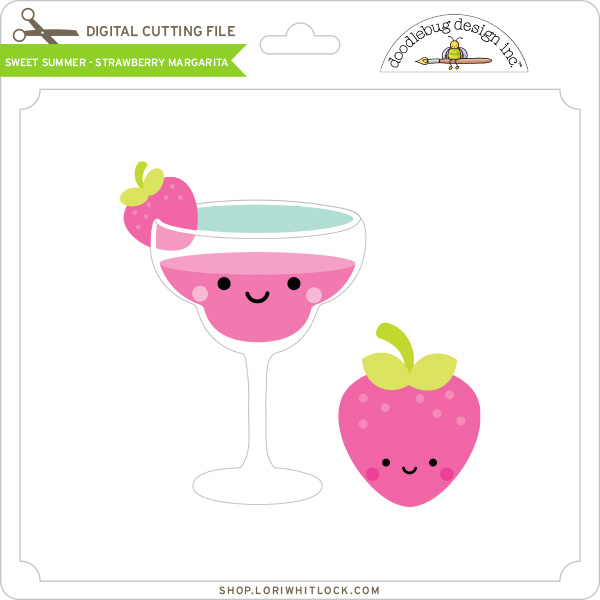
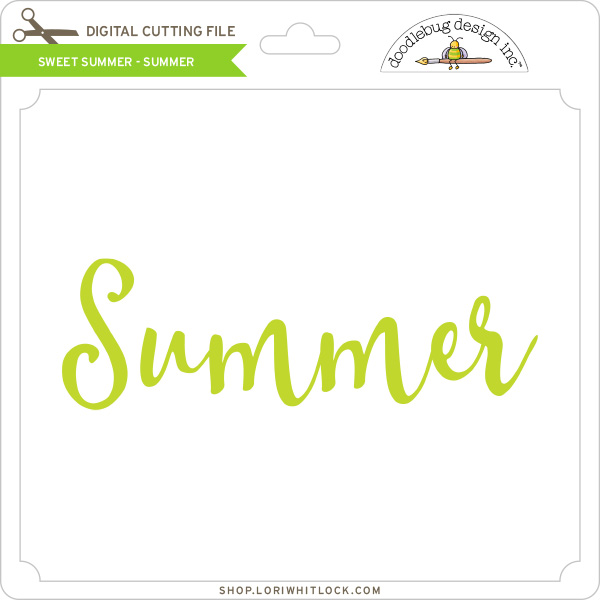
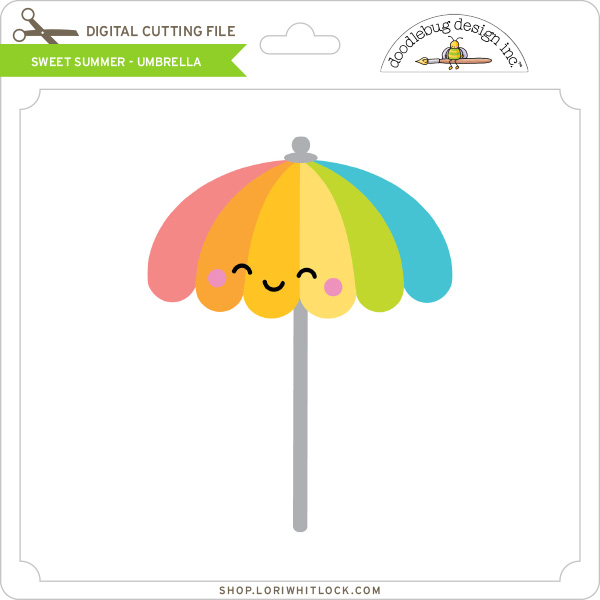
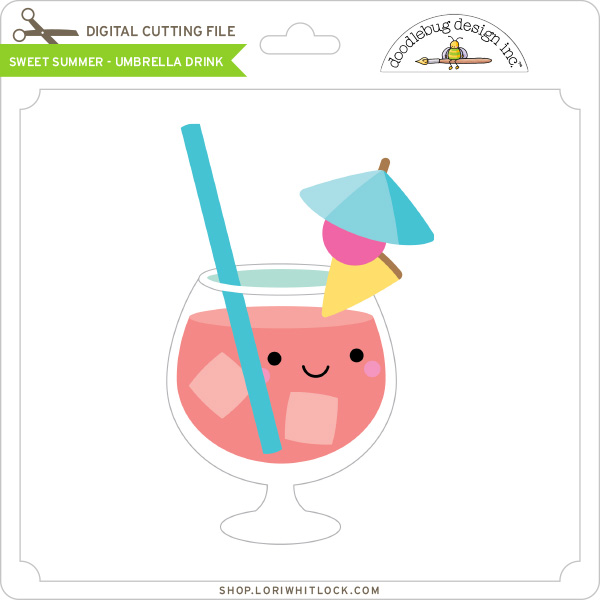
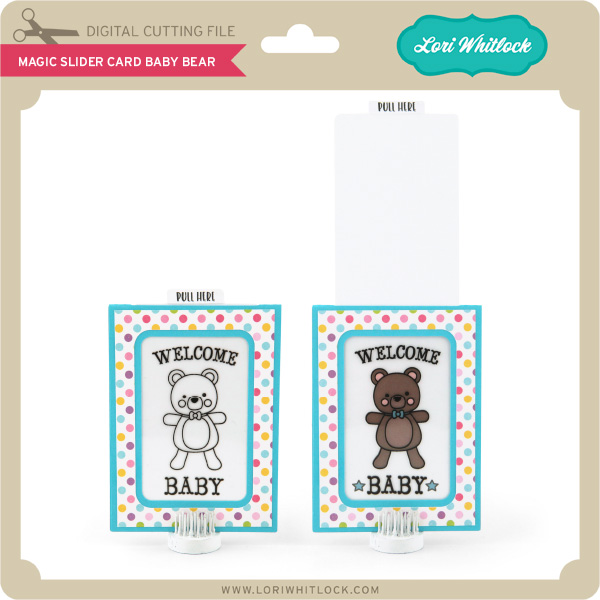
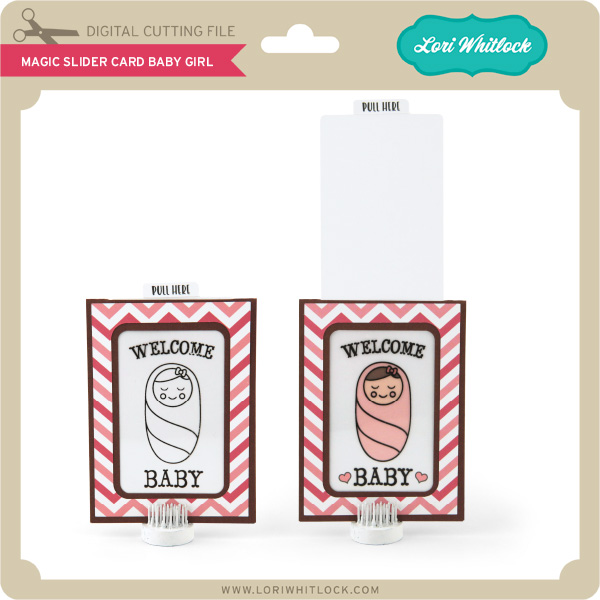
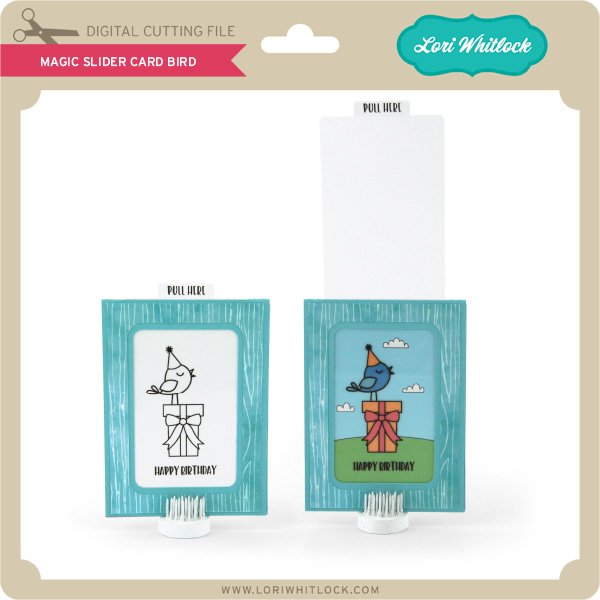
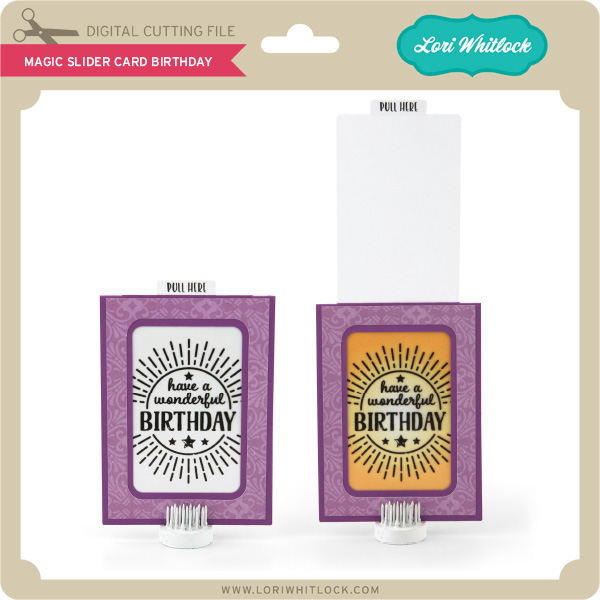
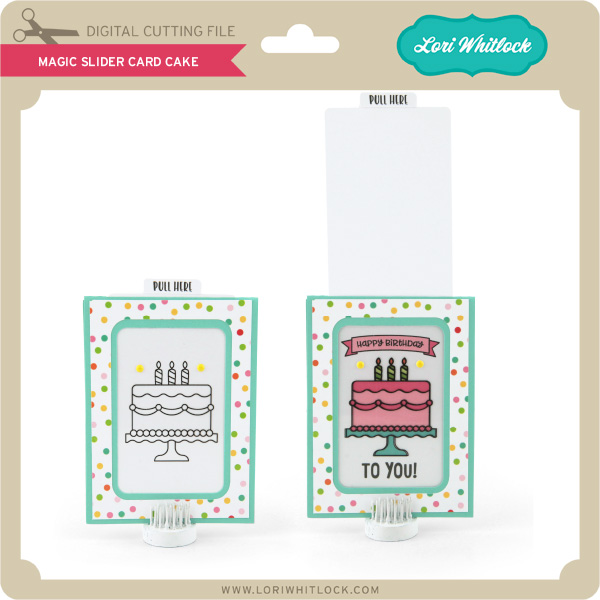
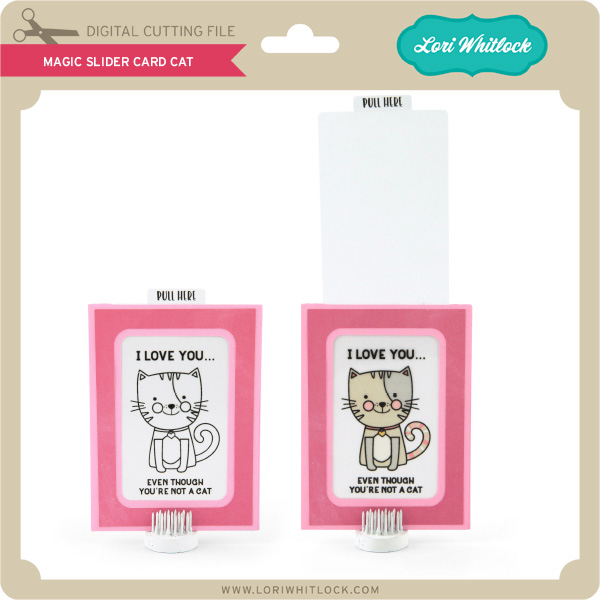
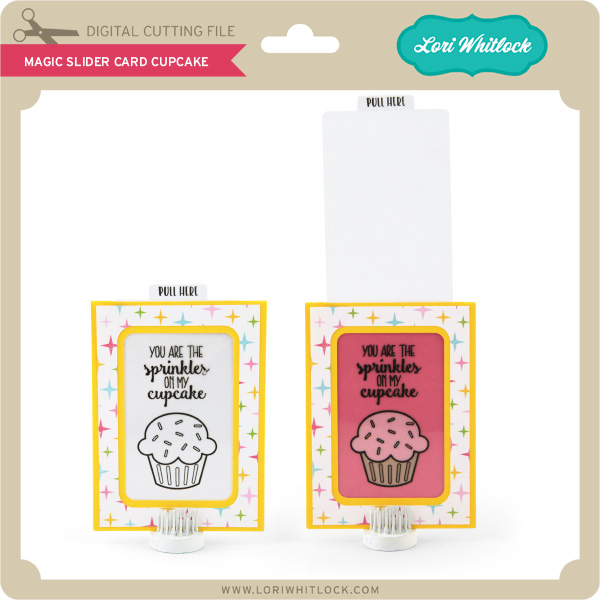
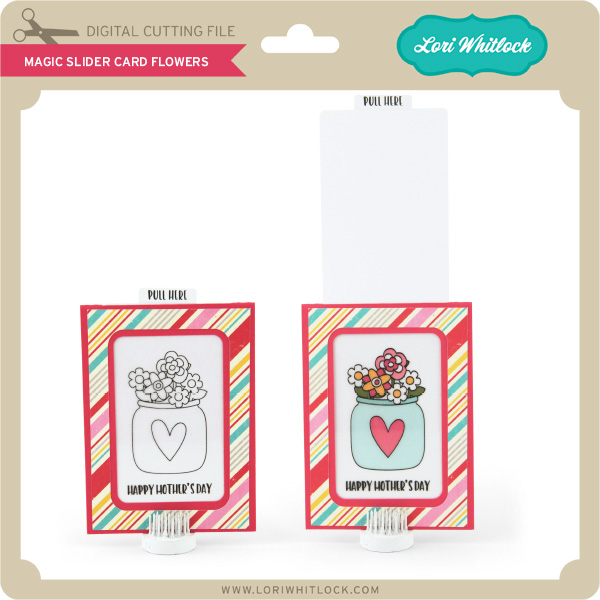
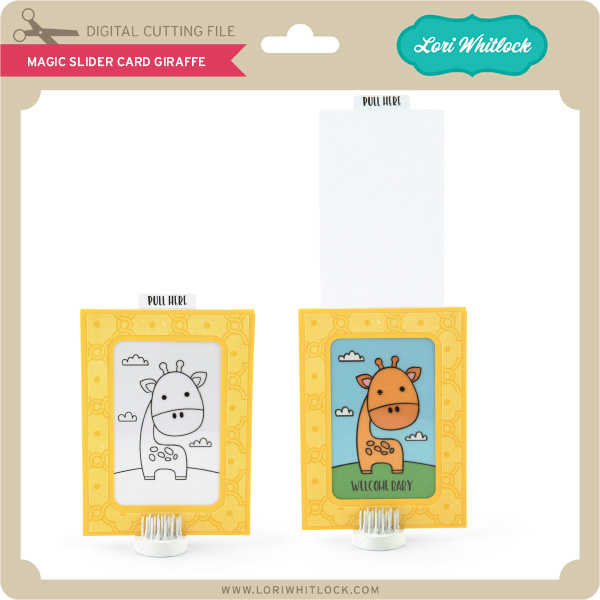
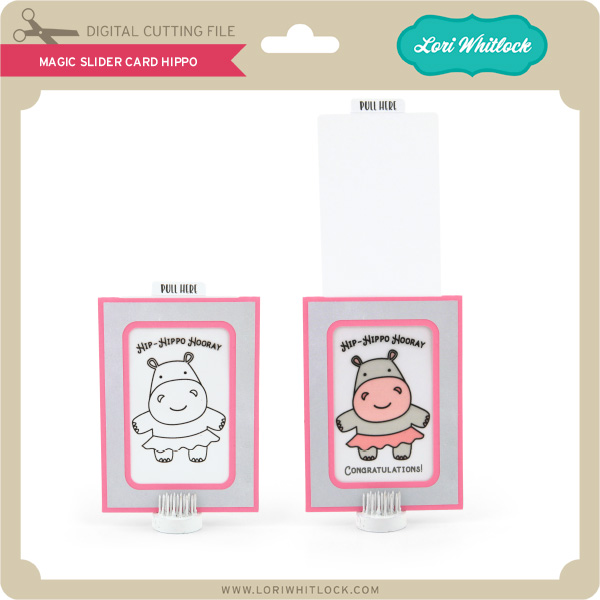
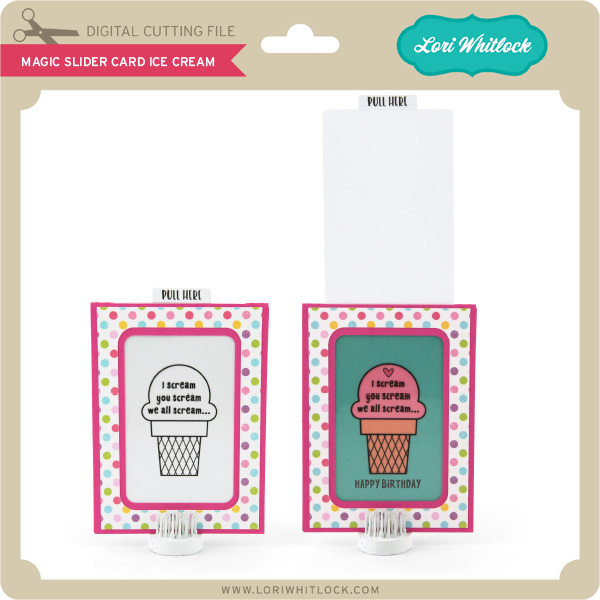
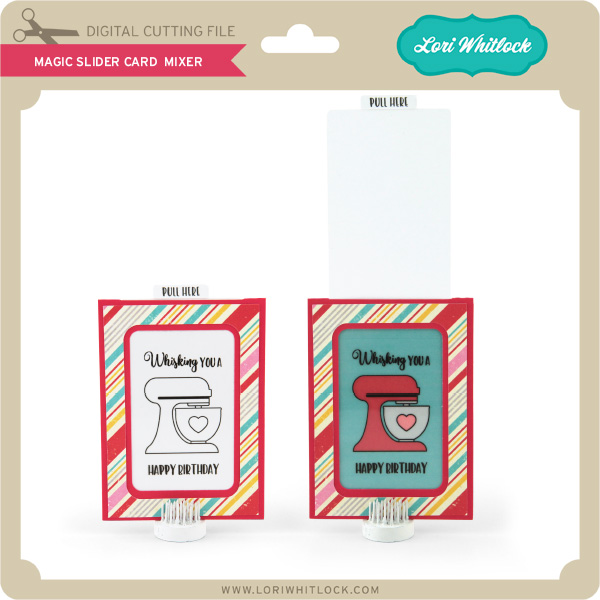
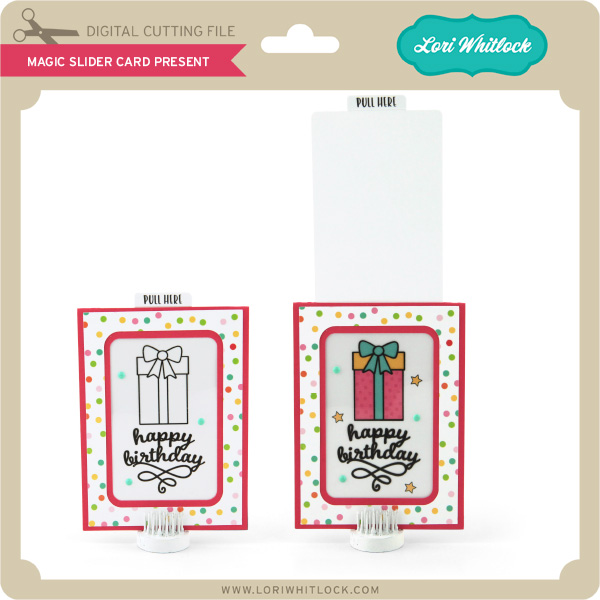
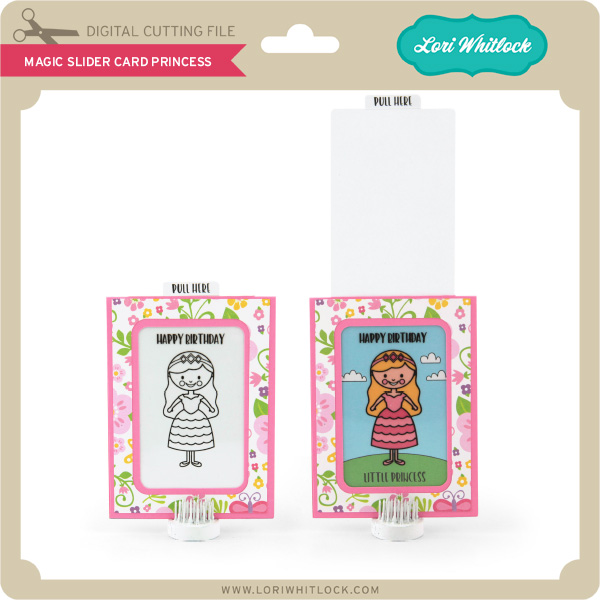
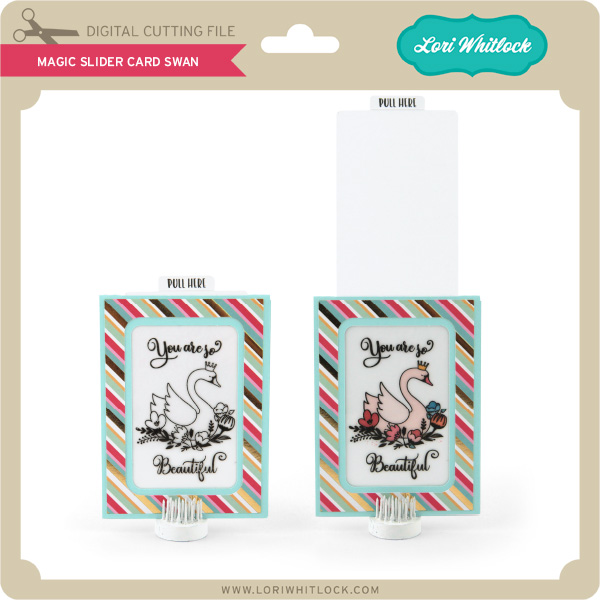
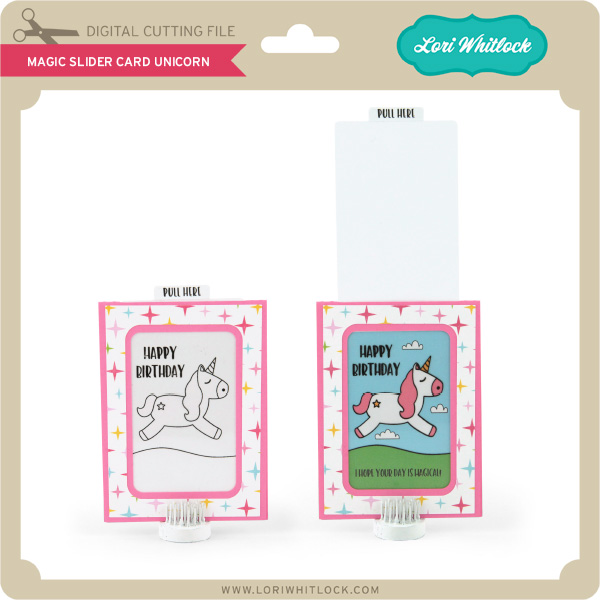
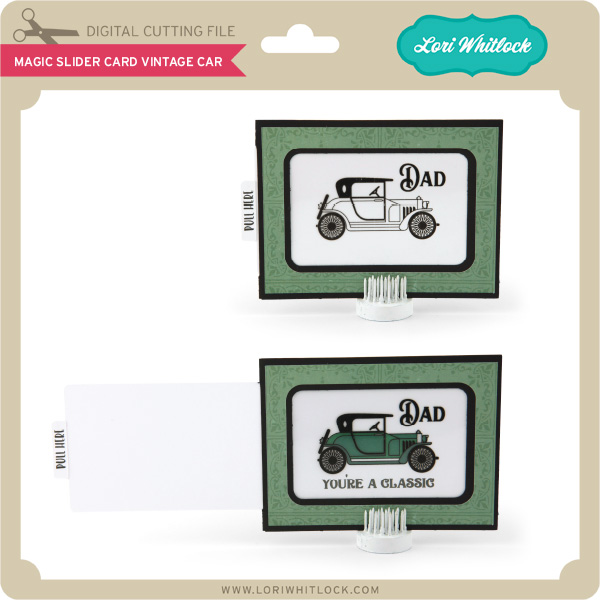
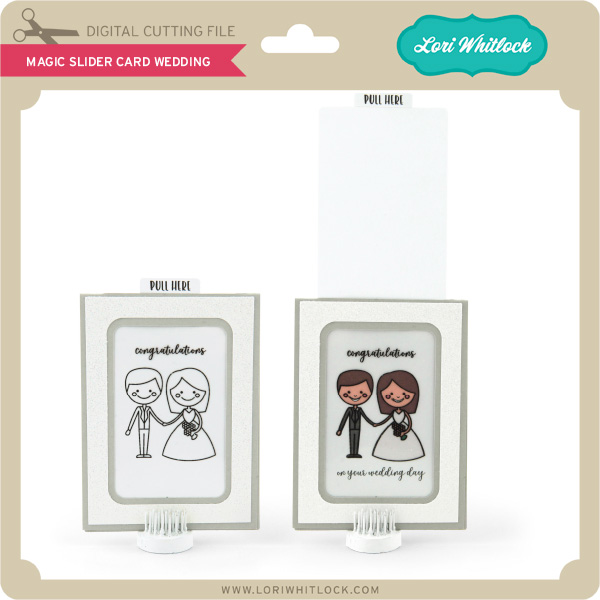
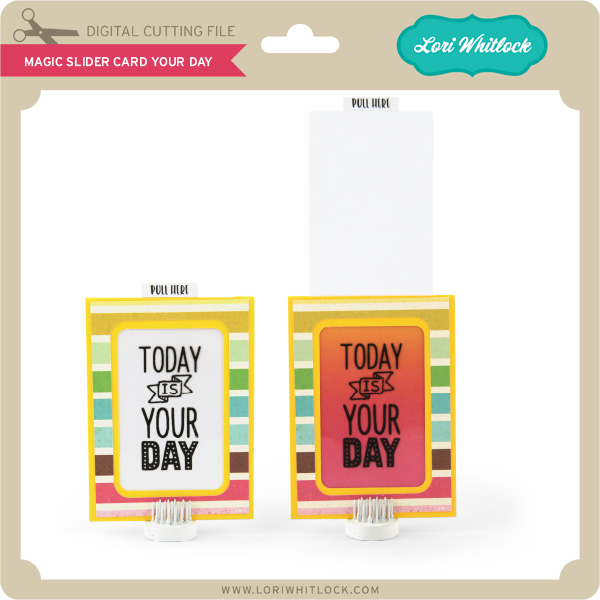
We have some super fun new files this week! Be sure to go shopping while all files are 30% off this week when you use code APR2018 in my SVG Shop! And, as always, the new files are available in the Silhouette Design Store as well. This week we have the NEW Sweet Summer Collection from Doodlebug Design! I also have some NEW Magic Slider Cards, and there are new files from Kolette Hall, Paige Evans and SAS!
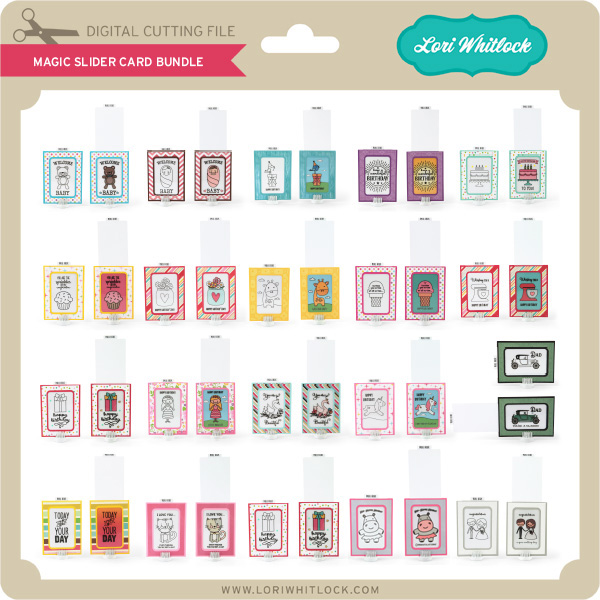
I have a new video assembly tutorial for the magic slider cards HERE. These cards are so much fun because as you pull on the tab the black and white image becomes “magically” colored. I really think you’ll love them!
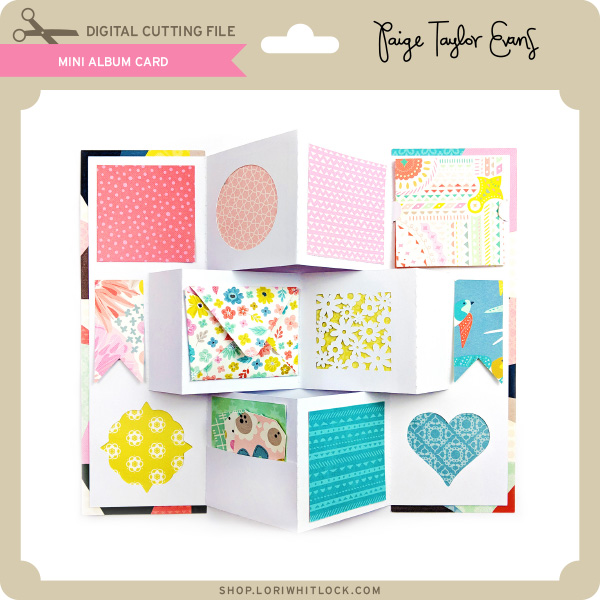
a Rafflecopter giveaway
And, last but not least… would you like to see what our amazing team has created? Click the links below for some wonderful inspiration. If you get lost come back here to get on track Lori Whitlock , Kathy Skou, Anita Mulcahey, Brandie Adams, Brigit Mann, Michelle Zerull, Aimee Kidd, and Ashley Cook!! Thanks again for dropping by! Have a GREAT day!
Happy Monday, Friends! Creative Team Member, Mitsyana Wright, here! And I have some sweet inspiration to start off the new week. I had a baby shower this past weekend and I created the little cutie to give to the mama to be.

For this adorable card, I used Lori Whitlock’s Bobble Head Card Fox file. I saw this little guy and automatically fell in love with him!
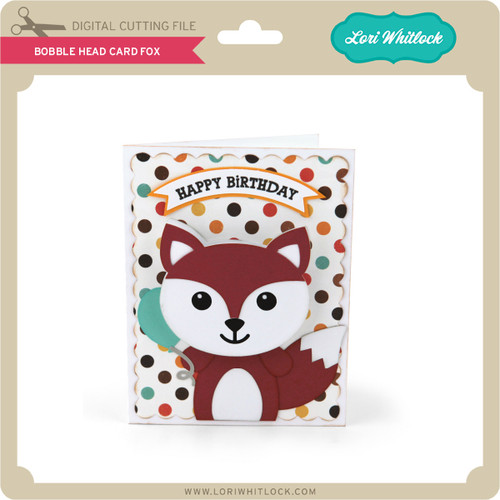
You can find this card HERE in Lori’s SVG Shop…
Or HERE in the Silhouette Store.
Since my friend is expecting a girl, I decided to turn this cute little guy into a cute little girl by hand drawing on eyelashes and added pink chalk for blushed cheeks.
I used Echo Park’s Sweet Baby Girl 6×6 Paper Pad and Sweet Baby Girl Frames & Tags Ephemera. The colors, patterns, and sentiments were absolutely perfect!! And as you can see pulled everything together to make an uber adorable baby shower card!
I hope you enjoyed this projects and it gives you a wonderful start to your week!!
Happy Crafting, Everyone!!
~Mitsyana