


I will be using mine in my Easter table setting.


I will be using mine in my Easter table setting.

Hello friends! Traci here and today, I have a cute 12×12 Easter scrapbook page to share with you. I made it using two of Lori’s pretty cutting files and lots of colorful papers. Since Easter is this Sunday, I thought a fun layout would be perfect for a few holiday photos of coloring eggs. Take a look …
This sweet bunny rabbit is the star of this page! I just 
I used Lori’s adorable 5×7 Easter Bunny Card 4 file (SVG, Silhouette) and a colorful mix of solid card stock. I assembled the pieces, then added
some enamel dots to the flowers for sparkle.
She’s so cute … she deserved a close-up!
Next, I chose another one of Lori’s cutting files called 4 Spring Borders (SVG, Silhouette) to make this pretty scalloped piece. Now … time to build the page!
To begin, I chose a rainbow stripe pattern paper from the Doodlebug Design Bunny Hop
Collection as the base. Then, I added bubblegum card stock at the top and the scalloped border in the middle.
In the top corner, I adhered the “coloring”, “eggs”, and flower die cuts from the Bunny Hop Collection along with some pretty enamel sprinkles. And for the journaling spot, I used 3 punches to make this … a 3″ scallop circle, a 2.5″ circle, and a 2.25″ circle then layered them all.
Next, were the photo mats. I cut 2 out of limeade paper and added more die cuts, dots, and the “Happy” tab.
As a finishing touch, I gave the bunny 3 colorful egg die cuts to hold on to, and … she’s ready for Easter! Yep … she and her carrots are pretty cute.
I hope this layout gives you a little holiday inspiration. I had so much fun using the 5×7 Easter Bunny Card 4 and the 4 Spring Borders cutting files. Highly recommend! Thanks for stopping by and have a great day.
*****
Glue the other white piece with the ears to the back of the face section so it covers the black piece for a finished look. Glue the sections together then fold in half and glue together with the tab. Glue the bottom flaps One thing about Lori’s files- when you fold a file in half (like boxes ,bags, 3D cards) the two sections match perfectly. I love this-no struggle to force a file to fit together. Glue the bottom flaps.
 We’re so excited to kick off the APRIL 2025 Creative Team Blog Hop and spread inspiration to get you feeling creative this month. Our talented team has been busy creating beautiful new projects that will spark your creativity this spring. We’ve also got a special sale, freebie, and an exciting giveaway waiting for you! Keep reading, but here’s the hop order…
As a big thank you for joining the hop and spreading some March/springtime cheer, we’ve got a special gift just for you! For TODAY ONLY, you can grab this adorable Easter Bunny SVG file completely FREE. Just add it to your cart, and it’s yours at checkout—no strings attached!
Be sure to check out the CT member blogs listed at the top of this post! Thanks again for dropping by! Have a GREAT day!
~Lori
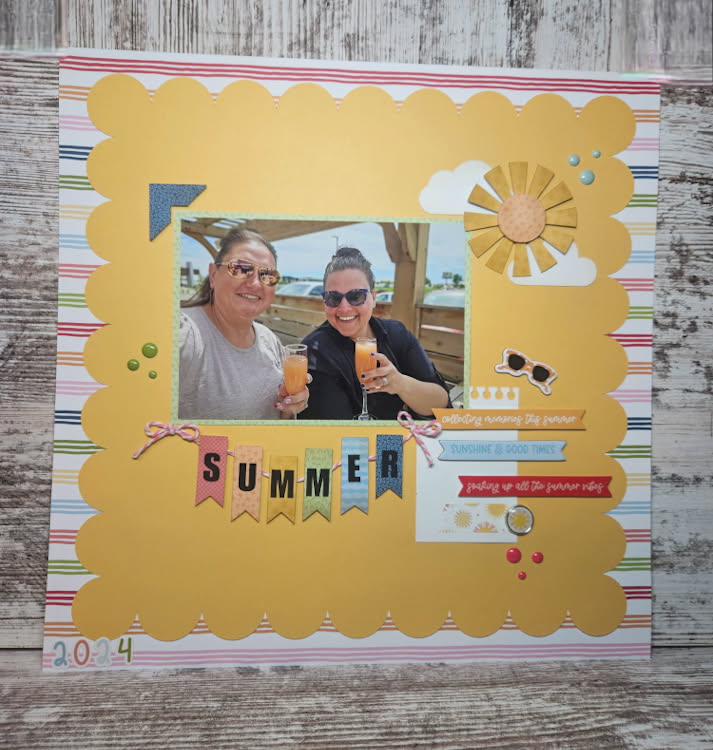
Hello! We got the dreamiest paper in the mail last week and I couldn’t wait to create with it. Echo Park’s Have A Great Summer designed by Lori Whitlock has all the best colors and papers. It made me think of how fun this layout would be with these papers.
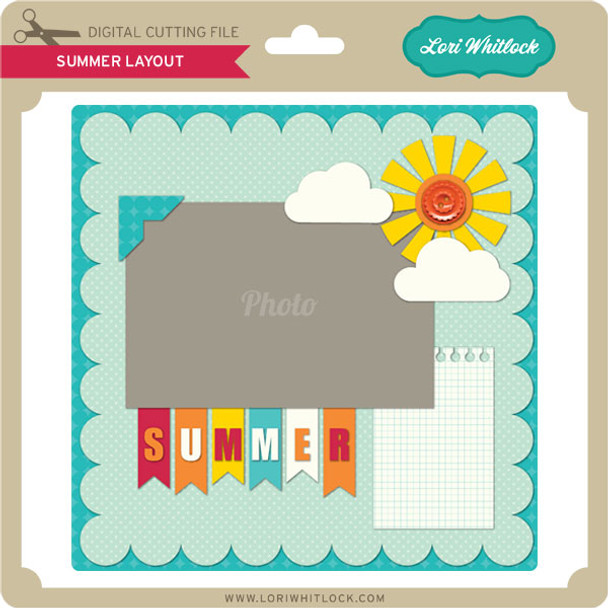
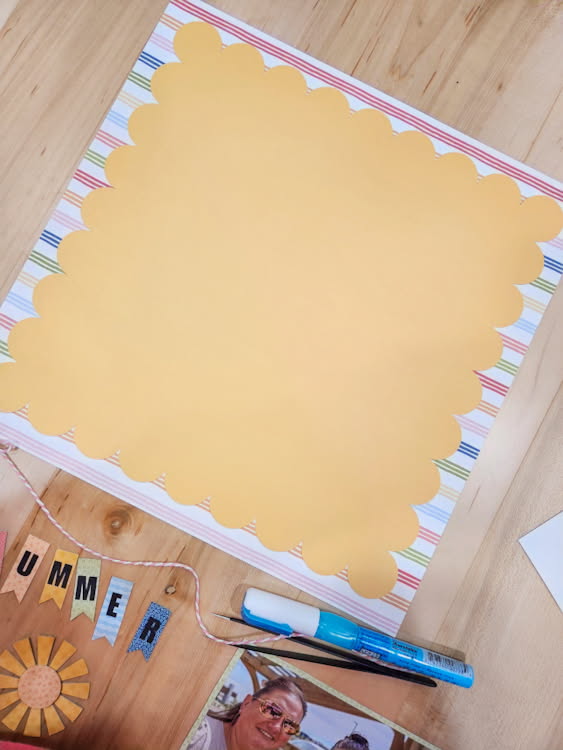
First I decided on papers and made my cuts. (*If you are making this on cricut, check your sizes, my scallop page cut 7×7 so I had to adjust.)
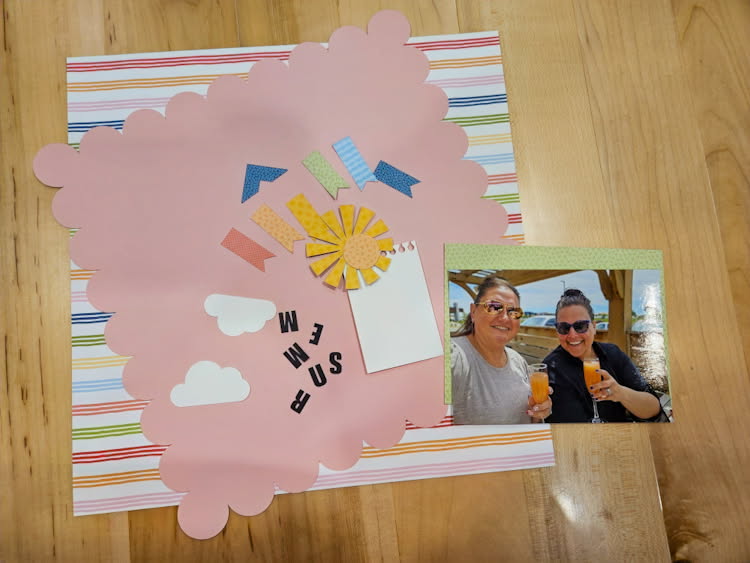
I went ahead and inked all my little pieces
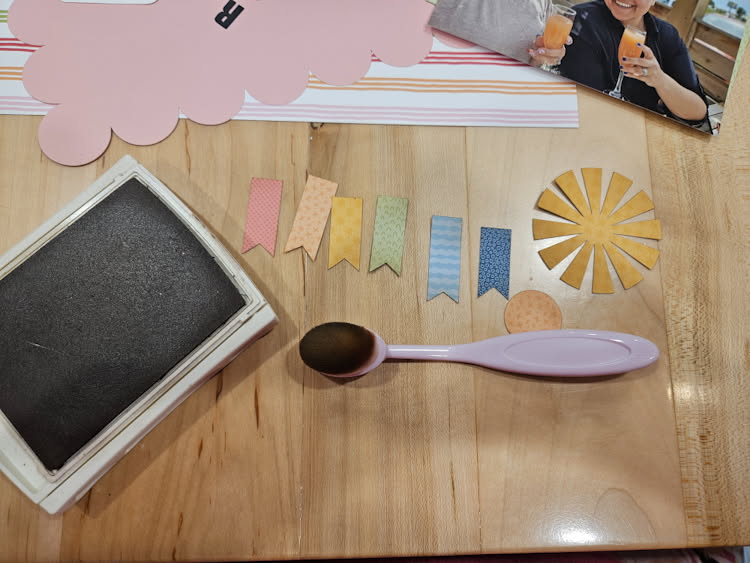
And then I added letters to the banner pieces.
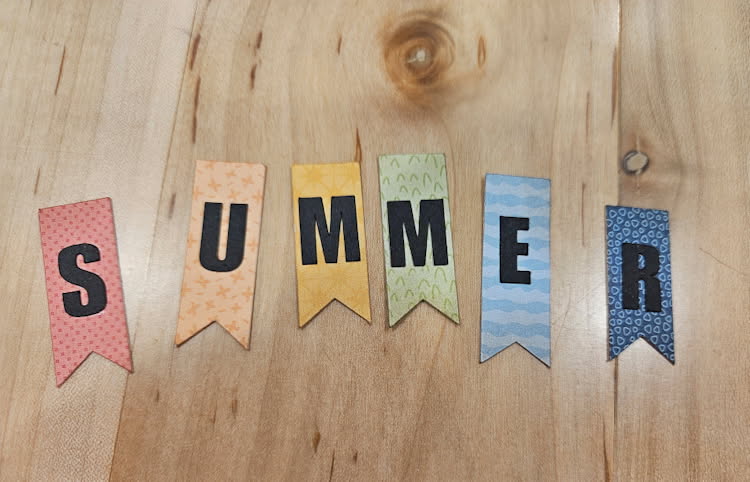
One thing I’ve learned over the years is it’s never a bad things to flip the paper over. I had originally thought I wanted to use the pink side of the solid paper, but it just wasn’t as summery so I flipped it and used the yellow. I love that I did. So bright and fun.
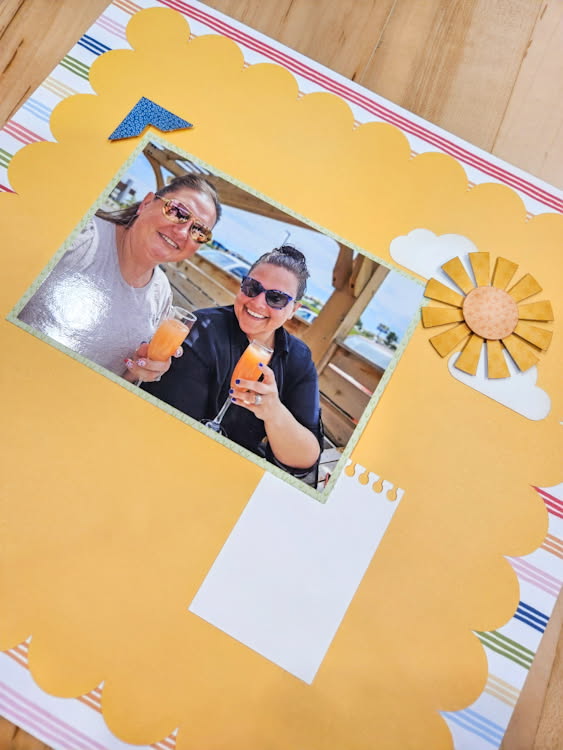
I added my photo and took a few liberties with positioning the other elements. I made sure my sun was over my clouds so it wouldn’t blend into the background and popped the photo corner up on the outside of the photo.
My banner I wanted on a string so I added my bakers twine and then popped the banners up over top of the bakers twine.
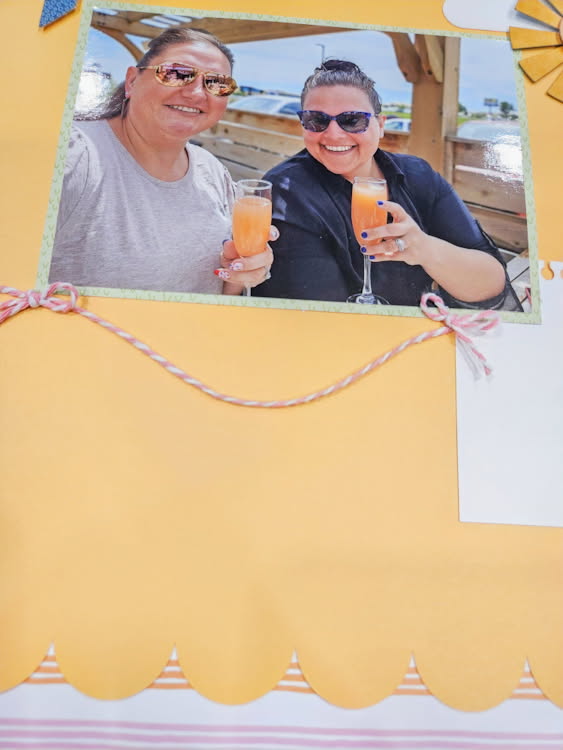
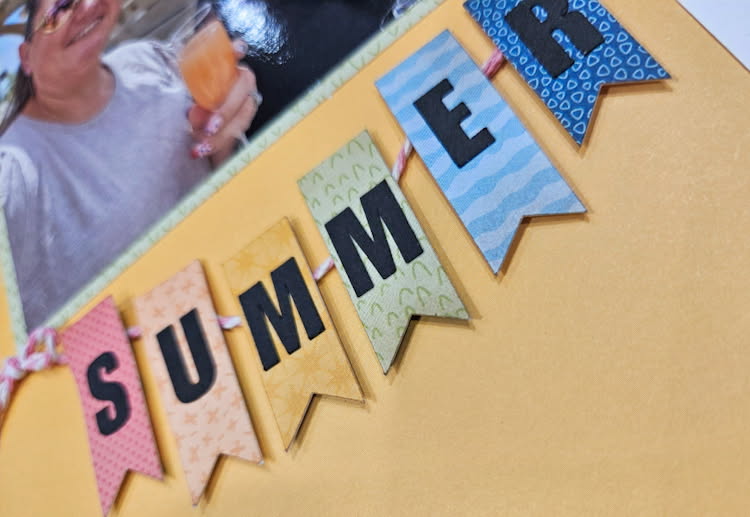
Finished off the layout with some chipboard and stickers from the Have A Great Summer line and a few enamel dots.
Thanks for stopping by and Happy Crafting!
Chelsea