Happy New Year Lori fans!! Welcome to 2015!
It’s Traci here today to share an easy project tutorial for making a magnetic desktop calendar.
For this project, I used one of Lori’s adorable Chalkboard cards and Silhouette brand chipboard to create the base of the calendar. I also used her 2015 Print & Cut Calendar file, along with Silhouette’s Adhesive Magnet material, to make the monthly calendars. Here is how to create this desktop calendar for yourself:
1. First, open the Chalkboard file and duplicate the large base portion as shown below. Using the eraser tool, erase the inside window on just one of the bases.
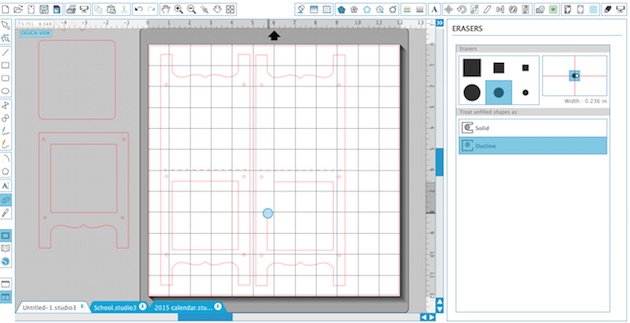
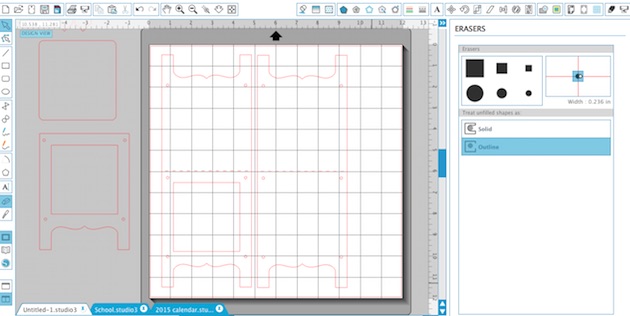
2. Once you have the two bases (one with a window, one without) cut them out of chipboard (I use Silhouette brand) and out of paper of your choice. Be sure to adjust the cut settings to accommodate the thicker chipboard material, and then re-adjust the setting for the thinner paper. The red paper that I used is from Lori’s “Yesterday” collection for Carta Bella.
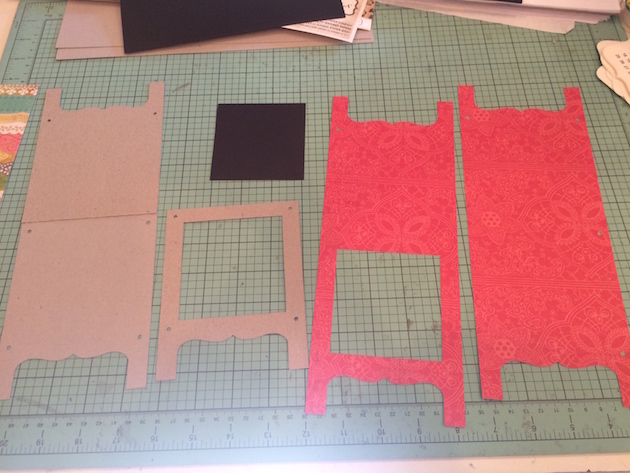
3. Cut the chipboard that has the window in half along the score line and adhere the back piece to the other chipboard as shown above.
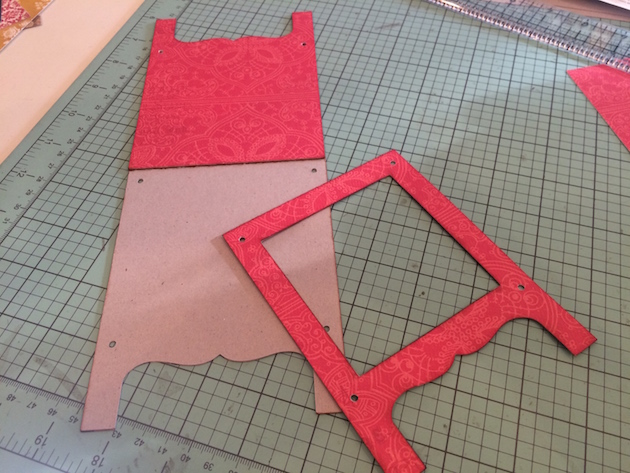
4. Adhere the other paper piece to the chipboard as shown. You should have two layers of chipboard and one layer of paper on the front and back of your base once finished.
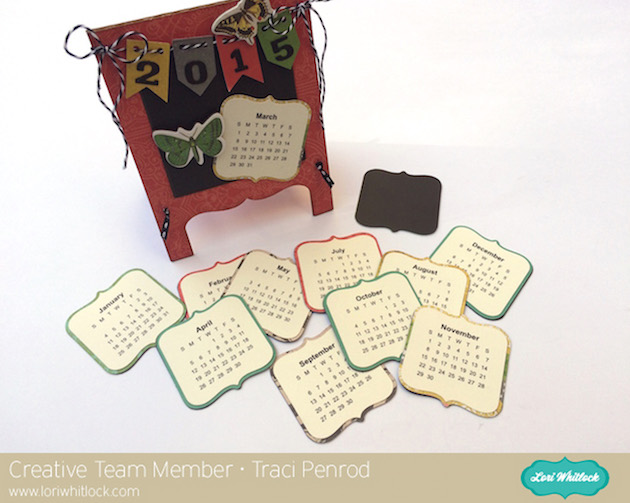
5. Using a paper trimmer, cut a piece of magnet material (I used Silhouette brand) 3 1/8″ x 3 1/4″. The piece of magnet will act as the “chalkboard” inside the window. Adhere all pieces of the base together. Tie twine or ribbon through the holes in the legs of the stand to help the calendar stand up.
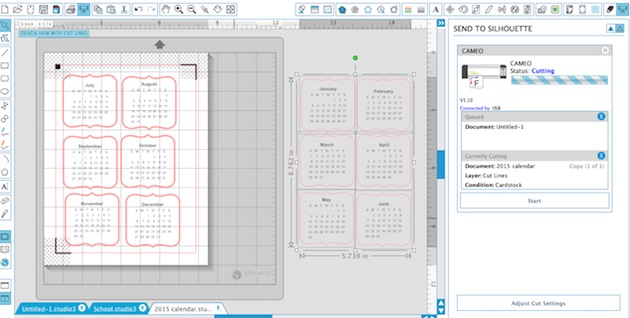
6. Create the calendars by doing a print & cut with the monthly calendars.
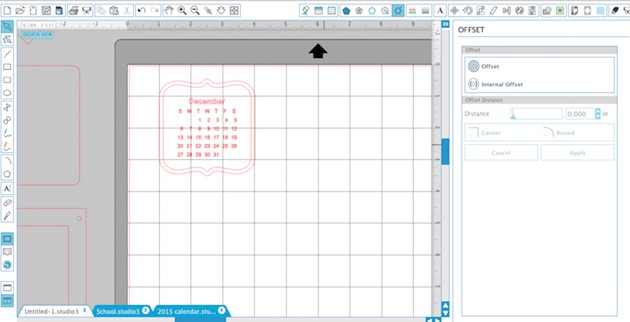
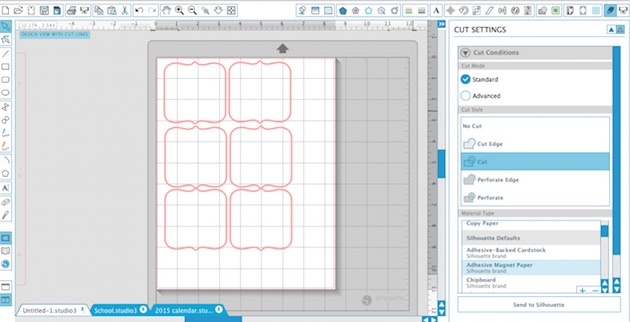
7. After cutting the calendars, I used the “offset” feature to create a mat for each calendar, and also for cutting the magnet material out of the same shape. The magnet material is self adhesive so I layered the calendar and the mat, and then just adhered the magnet material to the back of each piece.
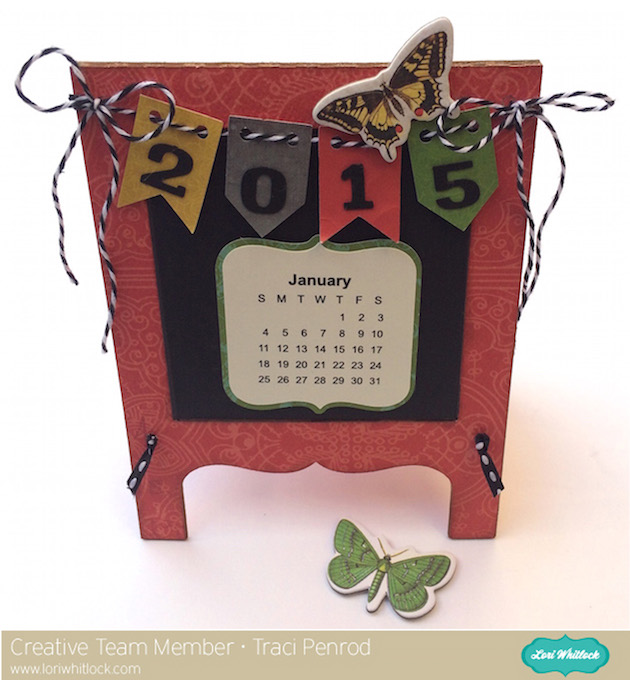
8. To finish the project, I added the banner that comes with the chalkboard file and cut out some numbers for 2015. I tied the banner to the top of my calendar with twine and added a cute chipboard butterfly from Lori’s “Yesterday” collection. I also added a piece of magnet to the back of some other chipboard pieces so I could add them on my calendar some months.
As you can see below, the months can easily be added and changed on the desktop stand each month.
Thanks so much for stopping by Lori’s blog today! I invite you to also come visit me on my blog at Artsy Albums and say hello!