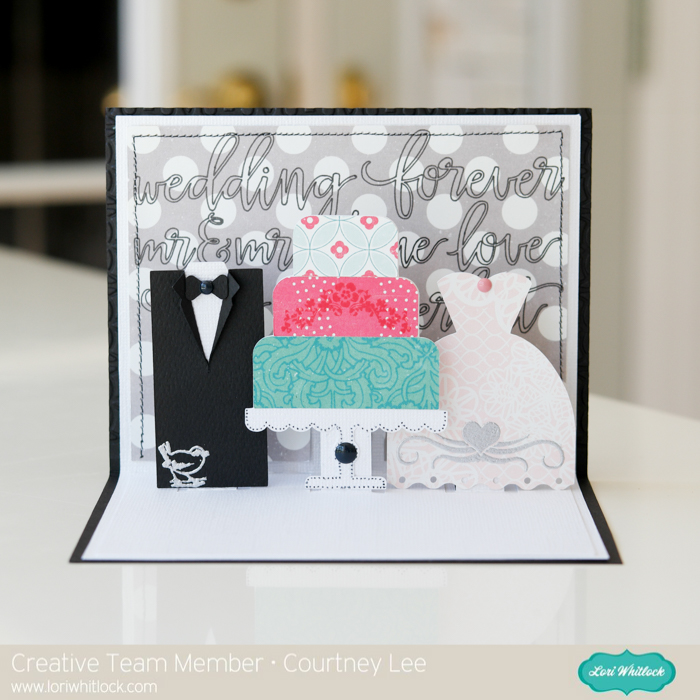
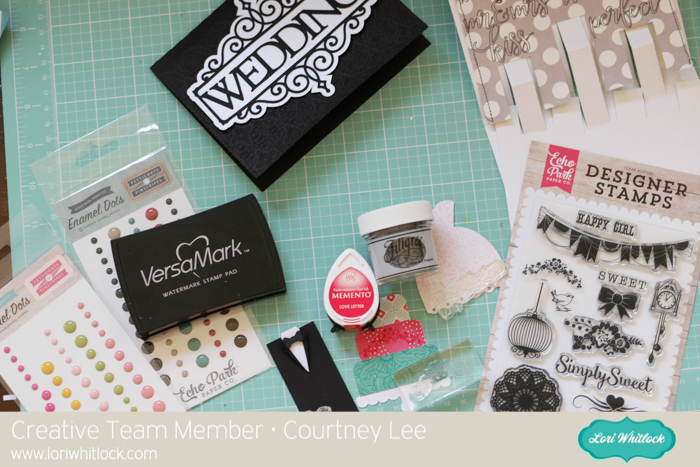
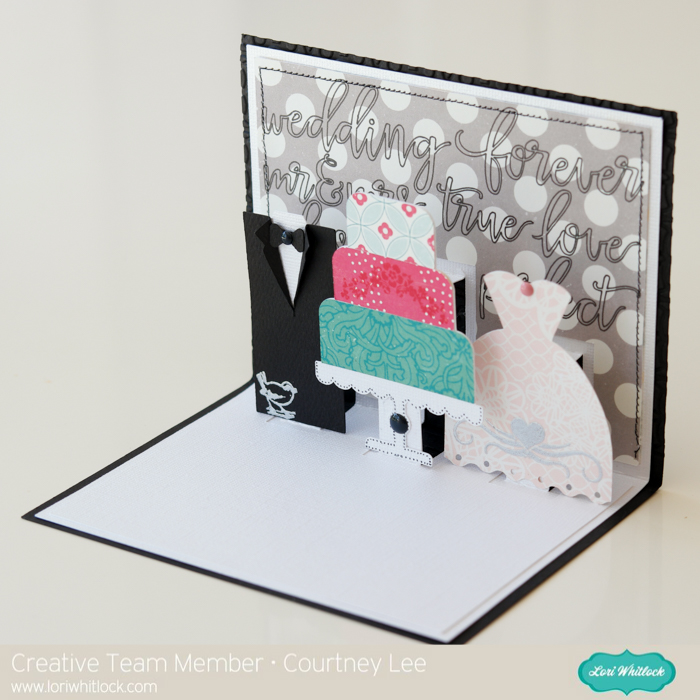
Hi everyone! This is Courtney Lee from Court’s Crafts here with one of Lori’s new Pop Dot Snow Globe cards! Aren’t they gorgeous!?!
Adding Glitter to Spice Up Your Cards
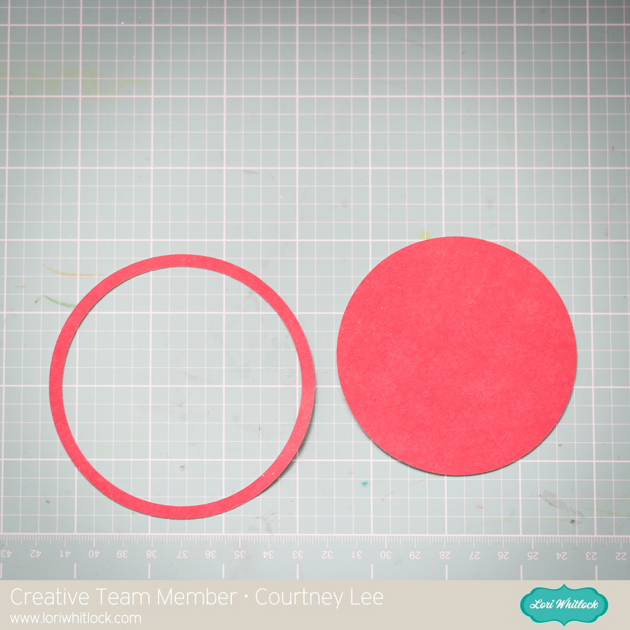 My tutorial today is really about adding glitter! For this one you need to mask out a certain area so when you finish cutting out your cut file, hold onto this red circle that cut out of the outer circle. It is going to act as our mask.
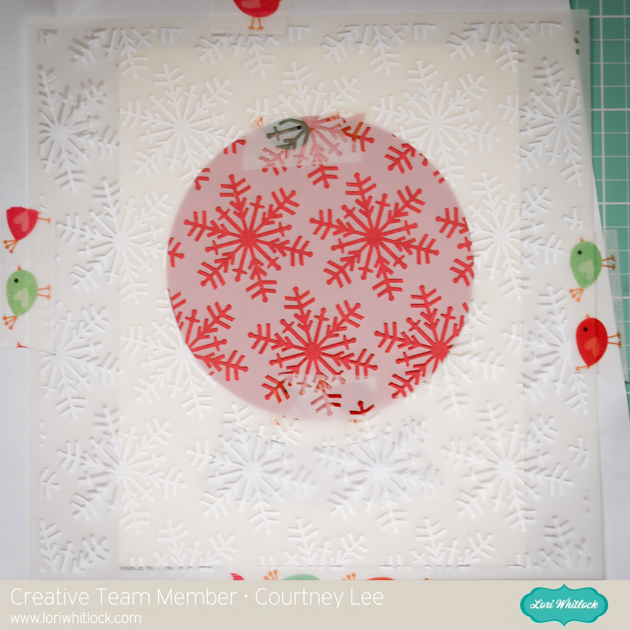 Now the trick to getting a gorgeous result from a stencil is to tape it down really well (just like painting!). I taped the red circle to the card (barely) as I knew it was going to be covered up by the thin red circle afterwards. Does that make sense? So I knew I had about 1/4 inch of room to tape the red circle to the white base. I also taped the whole thing to a scrap piece of paper and the table so that it wouldn’t move on me.
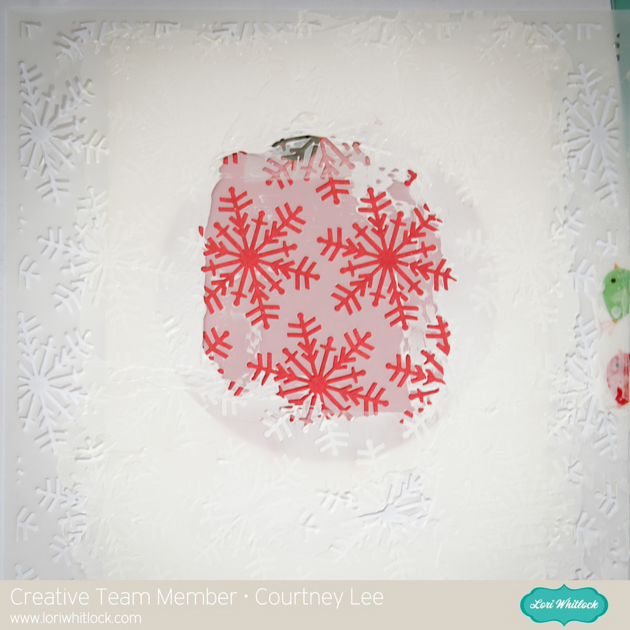 This is what it looked like after I used the opaque embossing paste and a spatula.
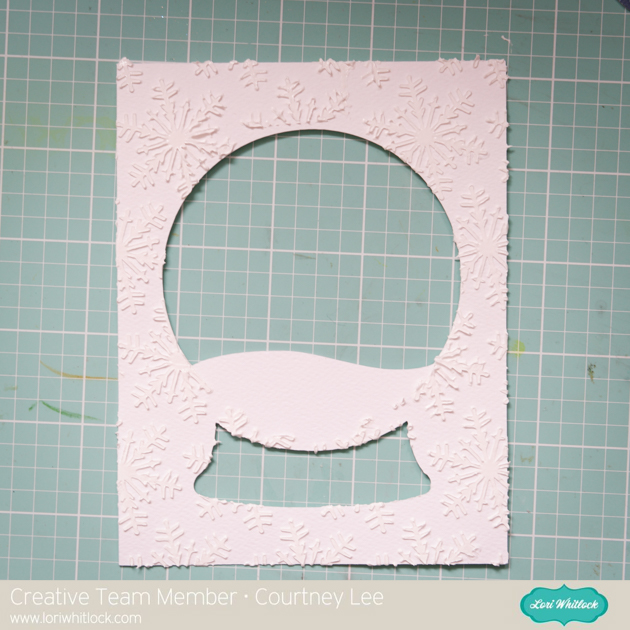 Eek! Pulling off everything is always the most stressful part. It’s so hard not to get your fingers in any of it.
 While the embossing paste is still wet, add the glitter and let it dry.. or, if you are daring, grab it by that “snow” part that was masked off and shake the excess off.. I did it and narrowly survived! haha.
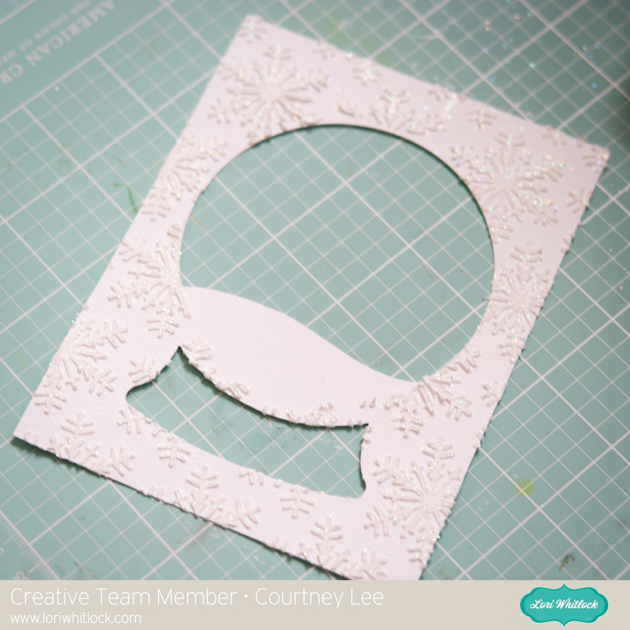
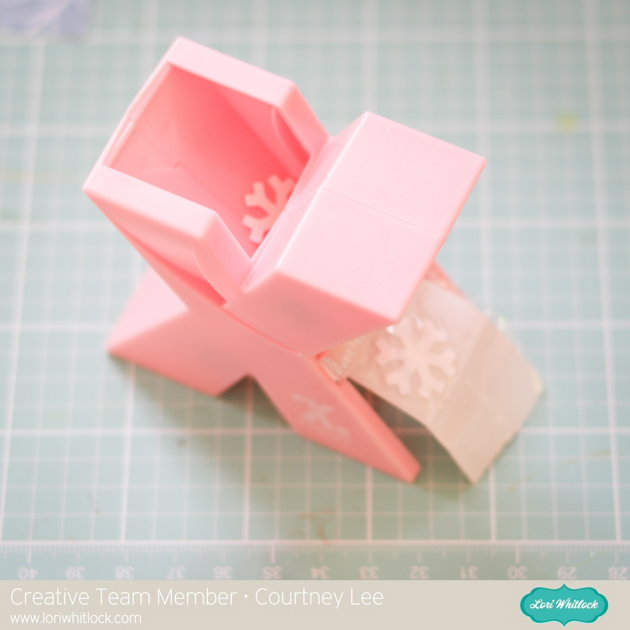 My background glitter wasn’t enough glitter for me and I also wanted a chunkier glitter look than using glitter paper – my sticker maker to the rescue!
 I covered the snowflakes in this slightly golden silver glitter. It looks more gold in this pic for some reason but it’s not that gold.
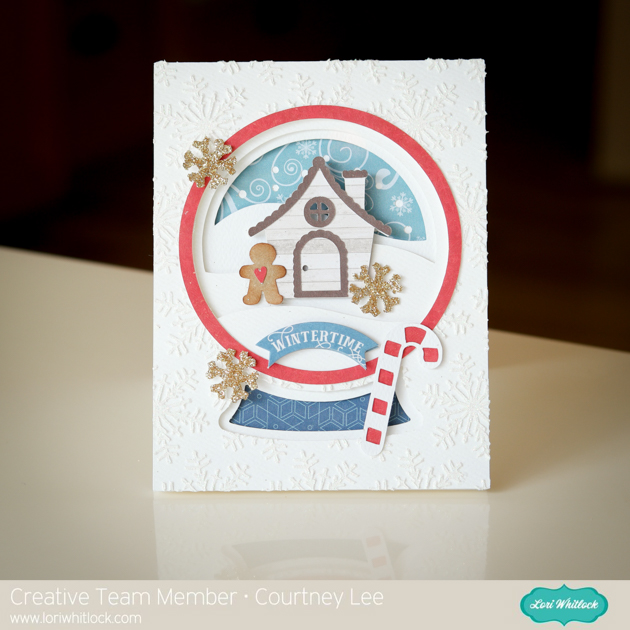
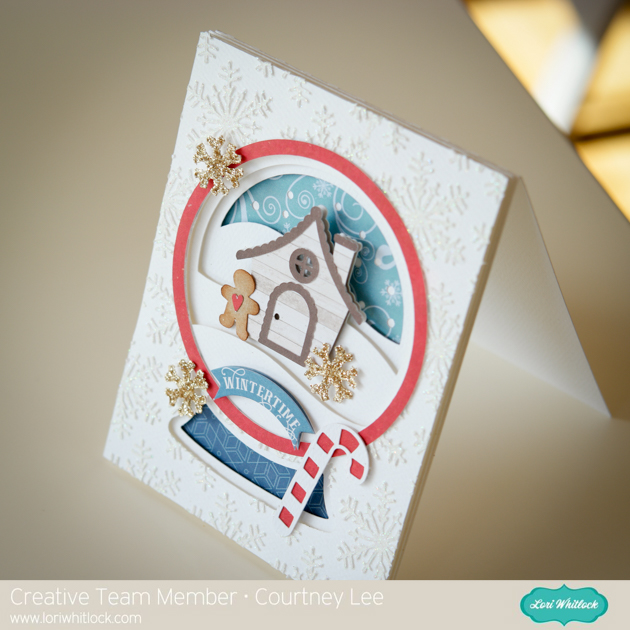
Now just use pop dots to put this beauty together and get ready to impress someone!!!!
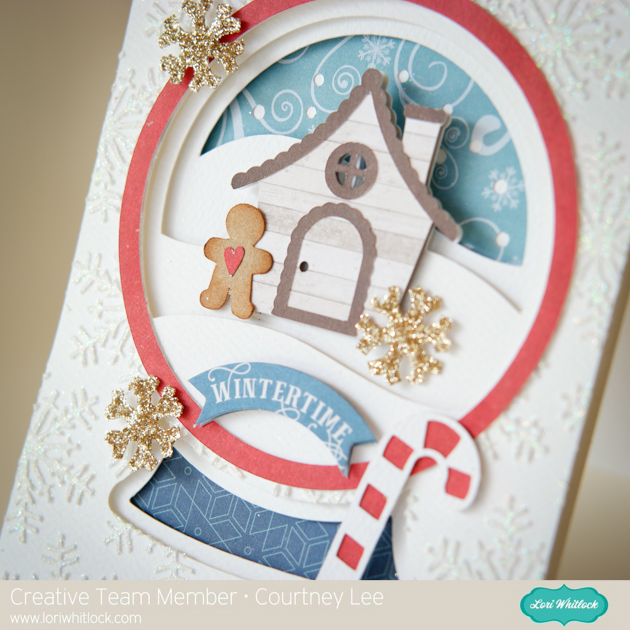
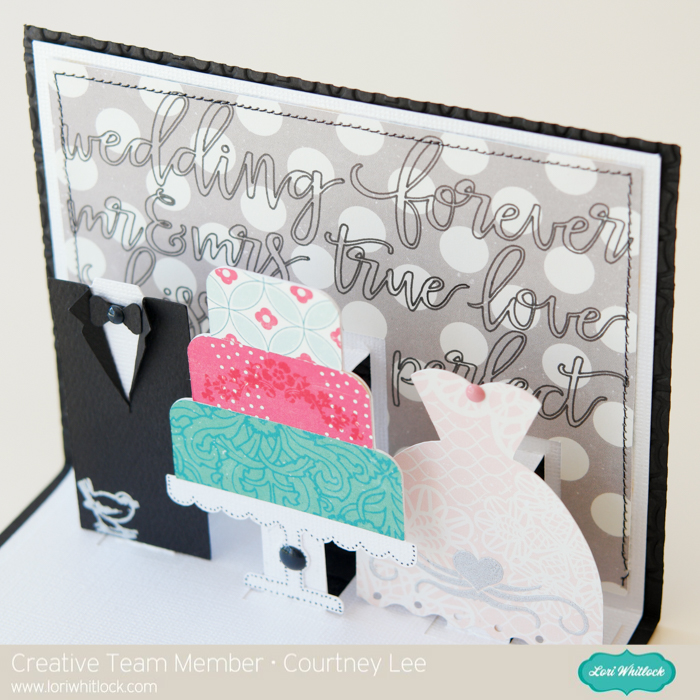
Isn’t it gorgeous!!!???!! It is even prettier in person. It super glistens. I used Lori Whitlock’s I Love Winter Collection for Echo Park for this whole card. The solid cardstock is Carta Bella’s and all the patterned papers came from the 6×6 paper pad for I Love Winter. The stencil is also from that collection as well as the sentiment. Enjoy! One more Christmas card done for me! 🙂
Lori Whitlock Store: A2 Pop Dot Card Snowglobe Gingerbread
Silhouette Store: A2 Pop Dot Card Snowglobe Gingerbread
Don’t forget there is a 30% off sale in the Lori Whitlock Shop through Monday.
Use code OCT2016 at checkout.


 I added some cute critters and embellishments since we don’t really do “spooky” at our house. The patterned papers you choose really make this house. Match it to your mood!
 I added some stitching to the tree to give it personality. And I stitched around the house pieces as well.
 Honestly, this chimney had me at hello. I loved it in green for the example and wanted to keep it that way. Its wonky nature and how the owl is looking scared of the spider = LOVE. I would advise cutting the back tree out of chipboard or thick cardstock a could of times. I want to reinforce mine before giving it to the kids! 🙂
 Here it is! Check it out in Lori’s store HERE and whip one out for tonight! You could easily adapt this for Thanksgiving using fall papers! You can grab it from the Silhouette Store HERE.