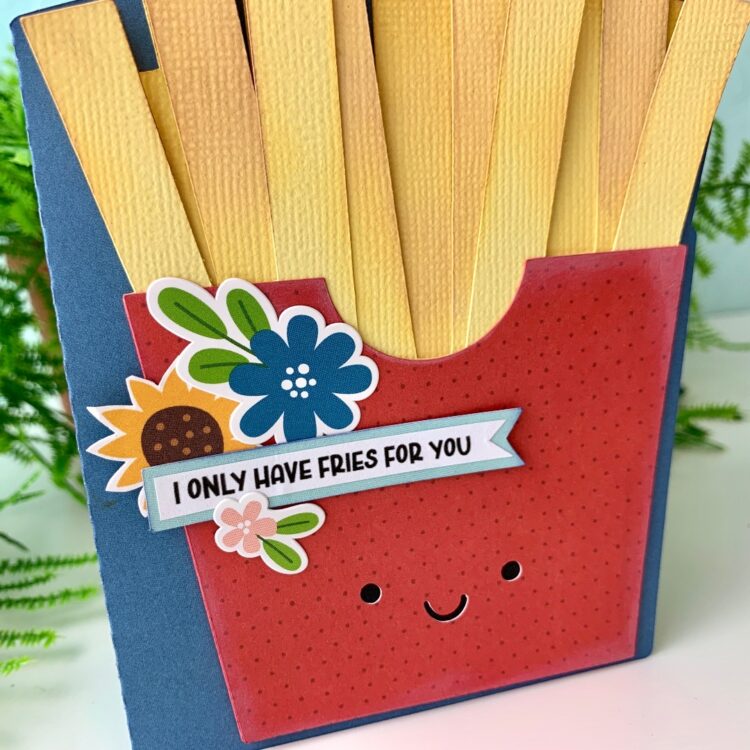
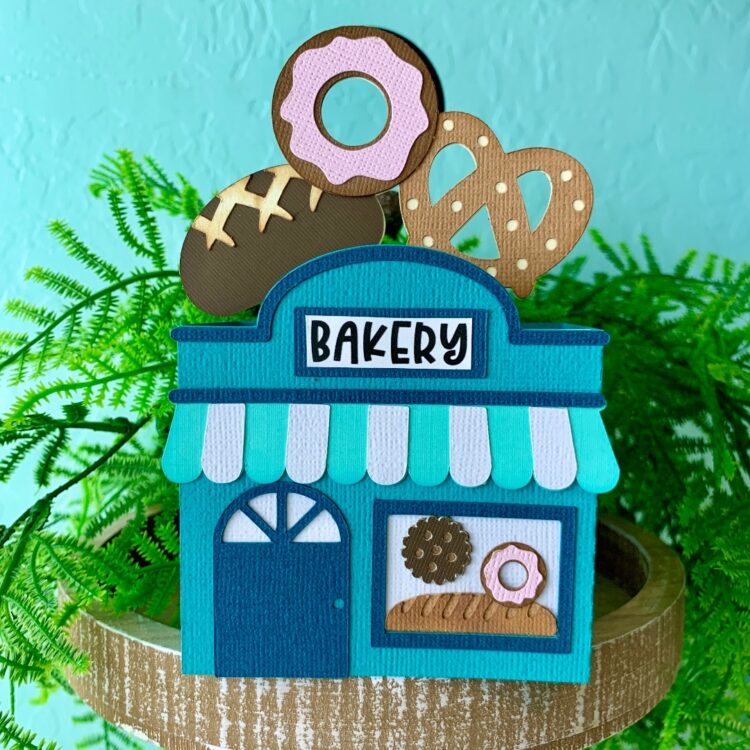
Hi friends! I’m stopping by today to share a tutorial for the Box Card Bakery (
SVG,
Silhouette). This card is so darling and would make a fun birthday, get well soon, thank you, or just because card.
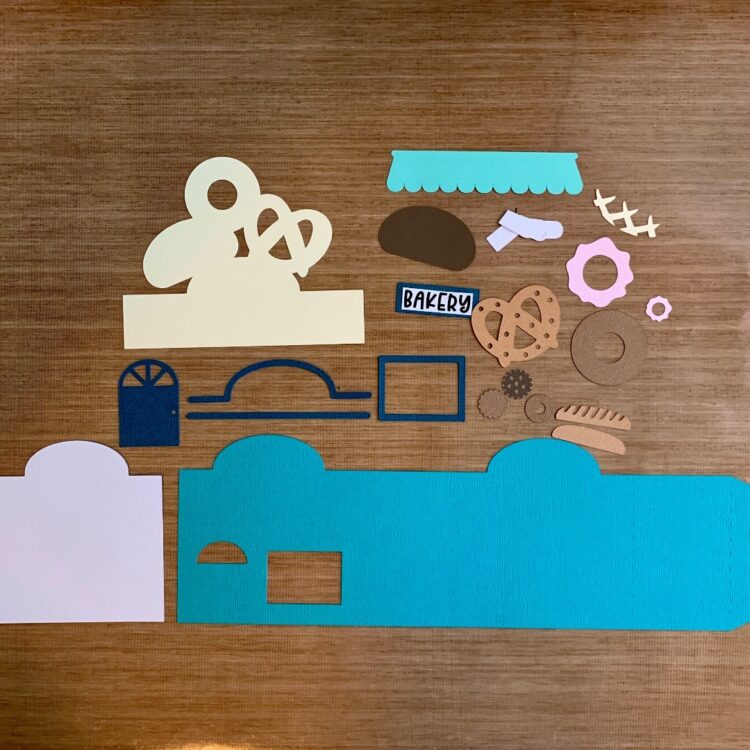
I cut out all of pieces in various shades of cardstock and then inked around the edges of most of the pieces in matching colors to give them a little depth. The bakery sentiment was done using the print and cut function of my machine.
This card does have several small images and for me the easiest way to assemble them is using a sticker maker. The adhesive is strong with no mess or glue seepage that can happen with wet glue.
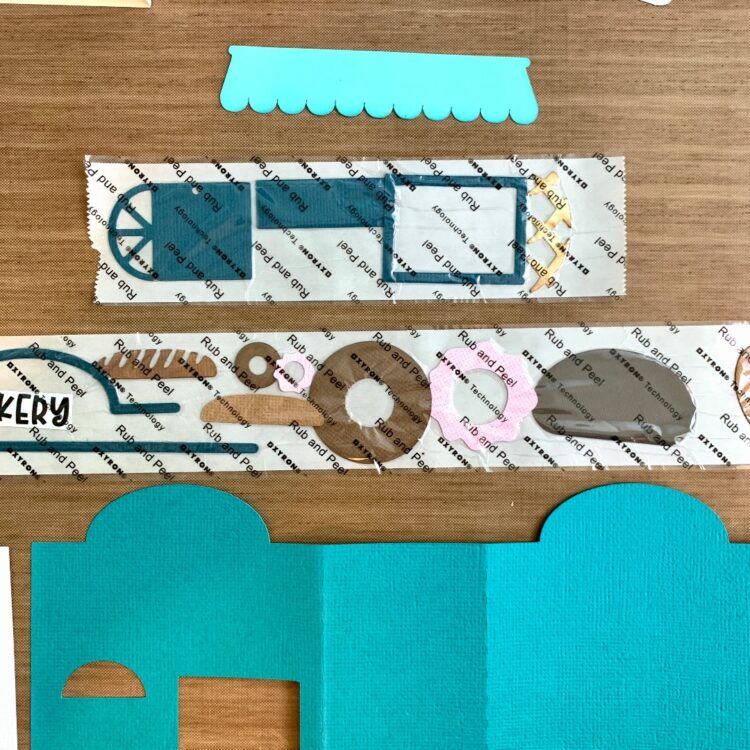
First, I folded all of the score lines into mountain folds. Then glued the white panel on what will be the inside of the card. This panel is to cover the holes for the door and window.
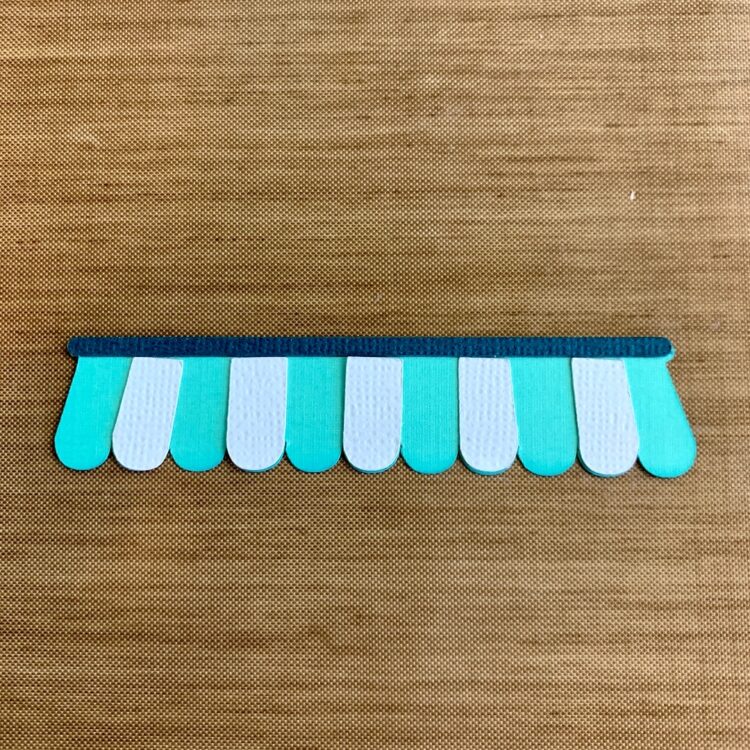
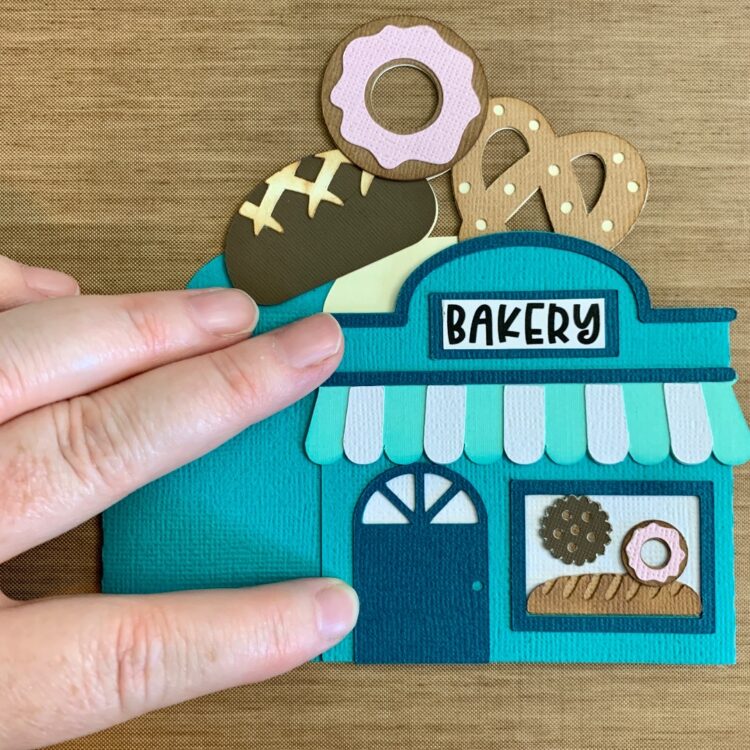
I then assembled the bakery sign, and awning. Dry fit the white pieces before gluing into place. Each little piece has a correct place on the awning. The image cuts the stripes in the right order. If you are careful when taking them off of your mat and keeping them in order, you won’t have a hard time assembling them. Or if you are like me and go willy-nilly pulling everything off the sticky mat it isn’t too hard to figure out the correct placement.
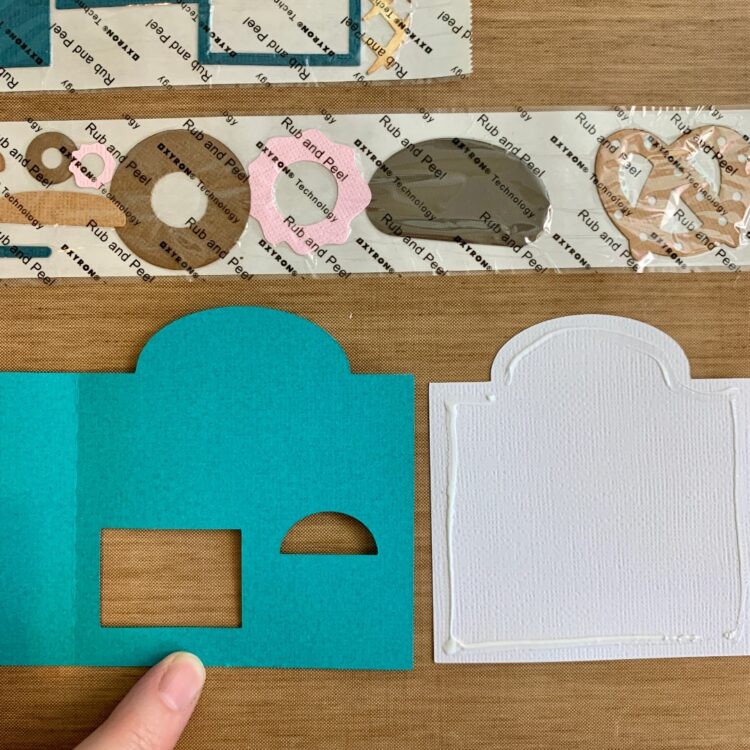
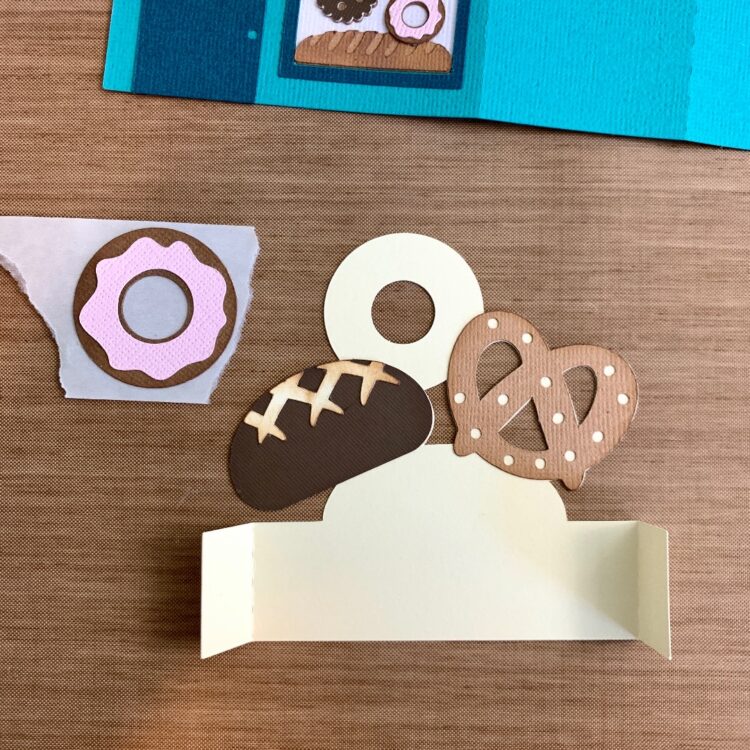
I attached the door and window frame first. Then added the awning, the top trim piece, then centered and the bakery sign. I also added the smallest bread loaf, donut, and cookie to the window display.

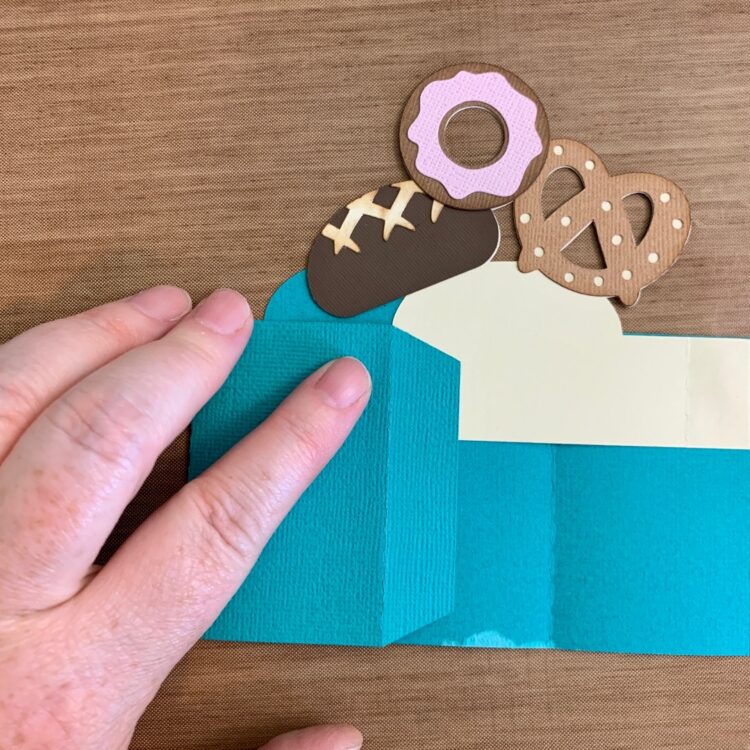
For the insert I added the pretzel and largest loaf first then added the donut.
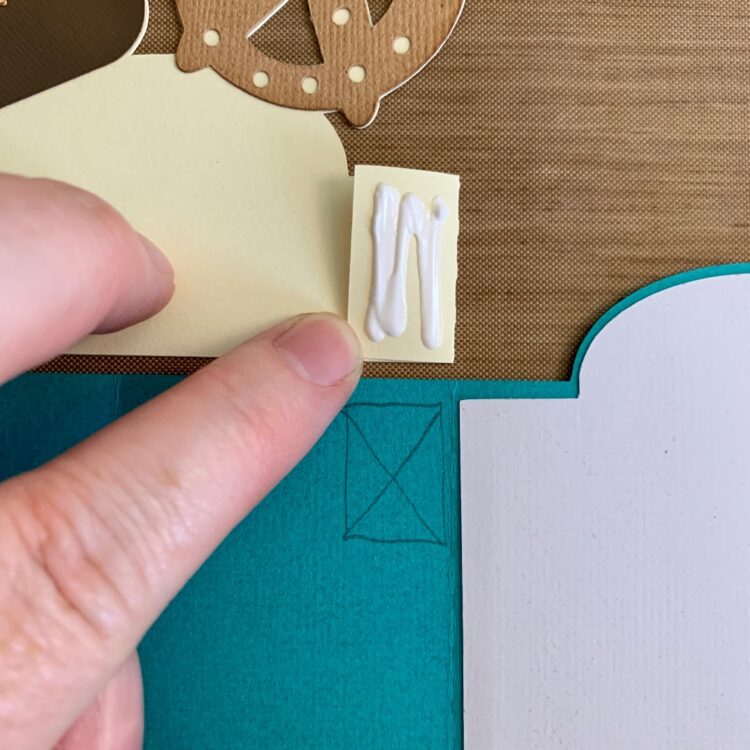
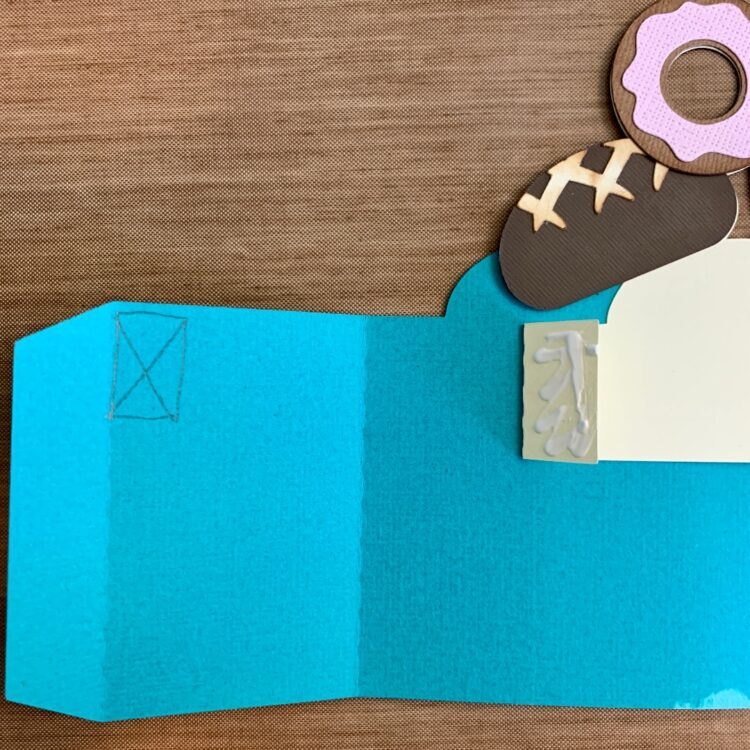
Now it’s time to assemble the box card. Flip the card base over so that the inside is face down on the table. With the insert face up, valley fold the tabs, and add glue to the right tab only. Glue down on the card base. (I added the X to show where to glue.)
Line up the tab with the top of the card base and to the left of the score line.
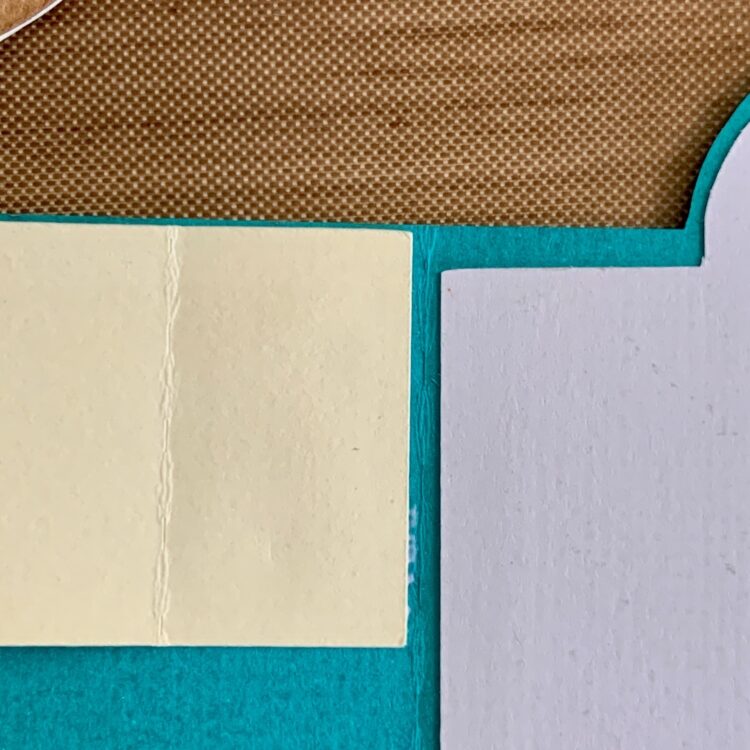
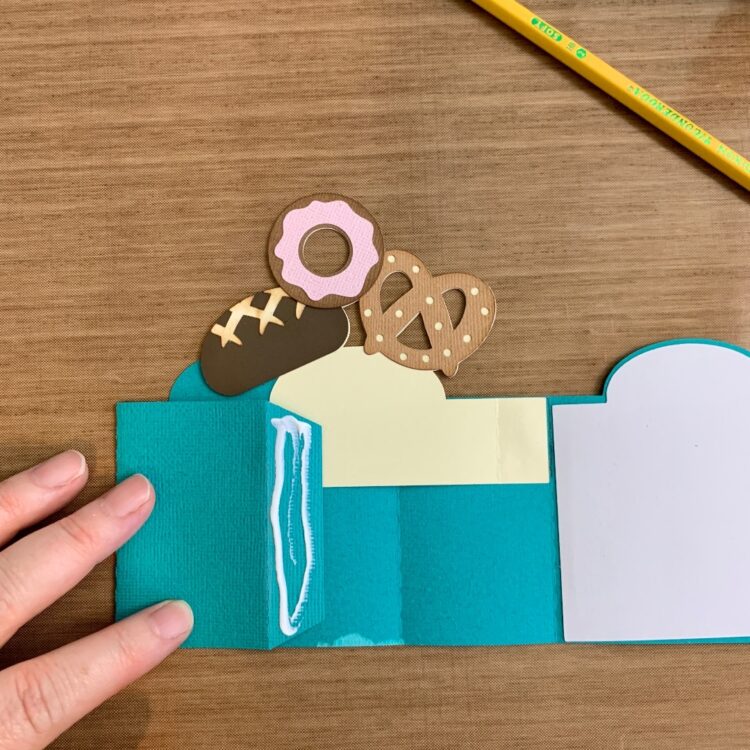
For the left tab, valley fold the tab, and add glue. Then fold over the left side of the card base. (Aiming for the spot where I have drawn the X.)
Hold until the glue sets.
The box card is ready to be closed up. Add glue to the last tab on the left then fold the right side of the card over. making sure everything is lined up.
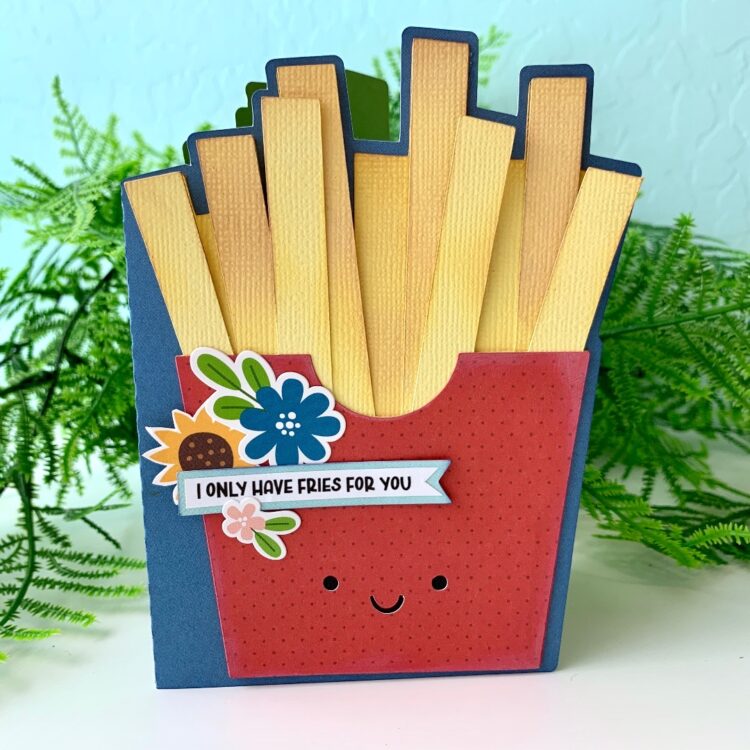
Now it is ready to be sent off to someone special. Thanks for stopping by today!
Brandie

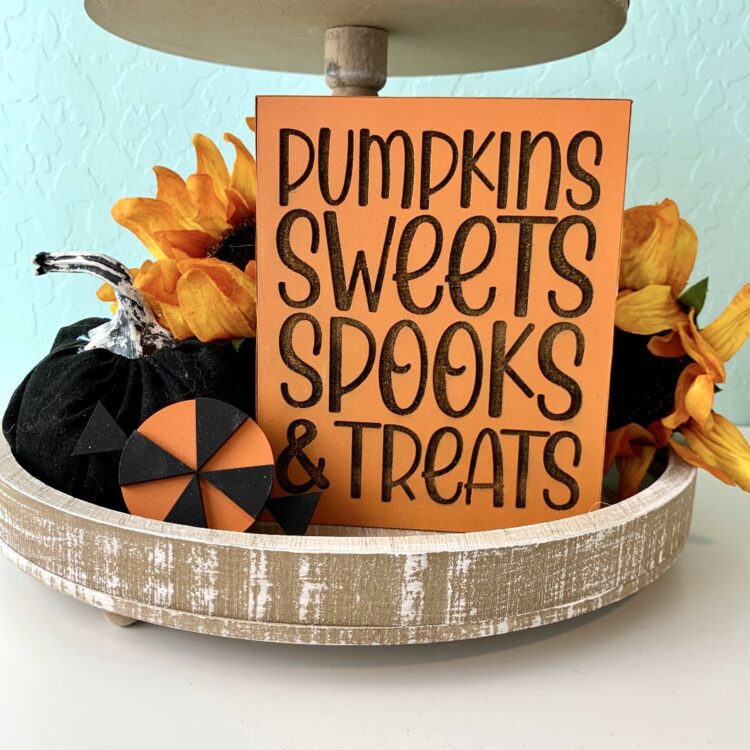
 Thanks for stopping by and happy spooky season!