Hi crafty peeps!! Aimee here with you today with a tutorial on how to assemble and create the new Graduation Cap Favor Box. I made this box for my niece Katie who will soon be receiving her Masters in Early Education and I couldn’t be more proud of her!

This fun and adorable box svg is available at the Lori Whitlock store *here* and at the Silhouette Store *here*. I also added some of the beautiful Lori Whitlock flowers after seeing a lot of graduates are now decorating the top of their caps which is a fabulous idea!! Wished that was a thing when I graduated!! (Rolled Flower 11 – Lori Whitlock or Silhouette, Rolled Flower 20 – Lori Whitlock or Silhouette)

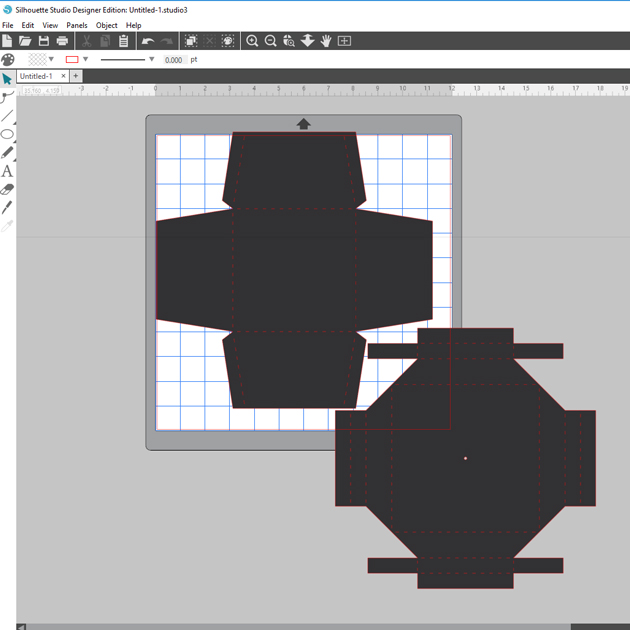
Alrighty, let’s get started! I resized the original file to create a bigger sized box.

Since each piece was so big I used 2 sheets of cardstock…1 for the top piece and 1 for the bottom piece.


After I had each piece cut out, I folded each cut line.

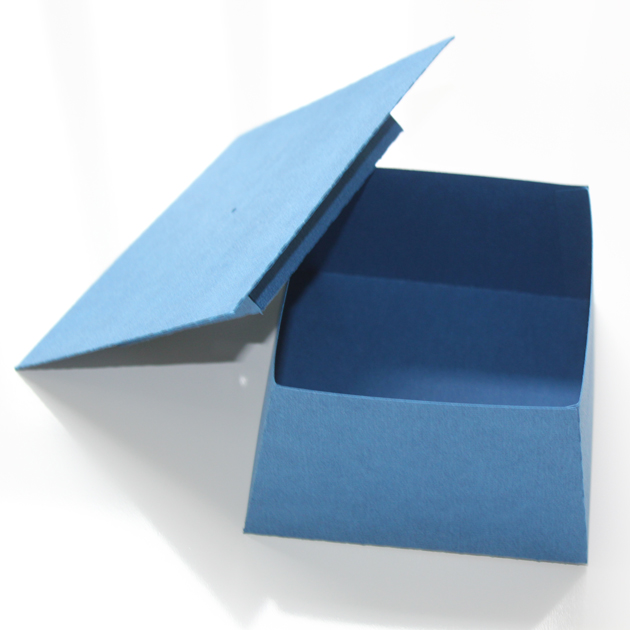
The bottom piece is easily assembled by adhering the gluetabs to the inside of the box.

For the top piece, start with the 2 sides with the extra gluetabs and adhere them down to the base of the hat. Follow along as I step you through it in the following pictures.


And this is what the underside of the top piece should look like after you’ve adhered all pieces down.
 Now comes the fun part of decorating the top of the Graduate Cap!


That’s it for me today! I hope you enjoyed this tutorial and Congrats to all those graduates!!
Aimee
