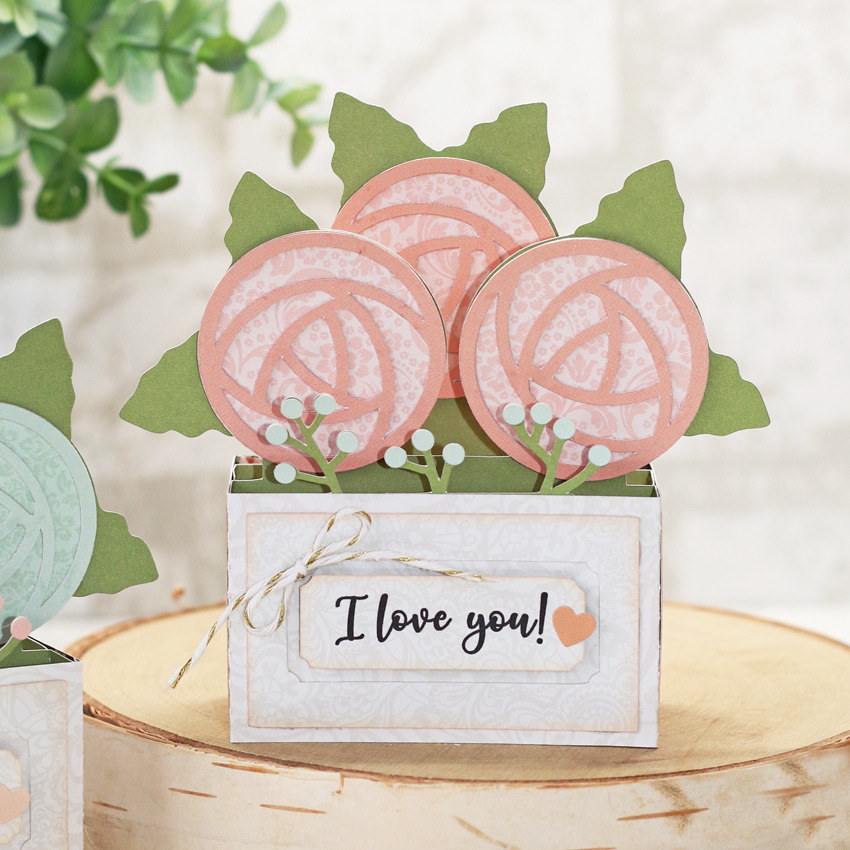
Hi there friends! Today I am showing how I made the Box Card Gnome Shamrock (SVG, Silhouette). I was able to make four of these little guys in no time.

I cut all of the elements out of 80lb cardstock. For the pieces that have grass I had my machine do a second cut before removing the cutting mat from the machine. On a Cricut all you have to do is hit the C button again once the first cut is complete and before you take the cutting mat out of the machine. On Silhouette, you can set a double cut in the Send panel. Doing the second cut always saves me time. I do not like to weed paper, so frustrating.
Once all my pieces were cut I inked all the edges to add some dimension. I also ran all the small pieces through my sticker maker.
For the gnome insert I glued the hat into place first and worked my way down with the beard, pants, and shoes. Then I added the nose at the center of line where the hat and beard meet. Then I attached one of the small shamrocks and hands. Also don’t forget the little ball at the end of his hat.
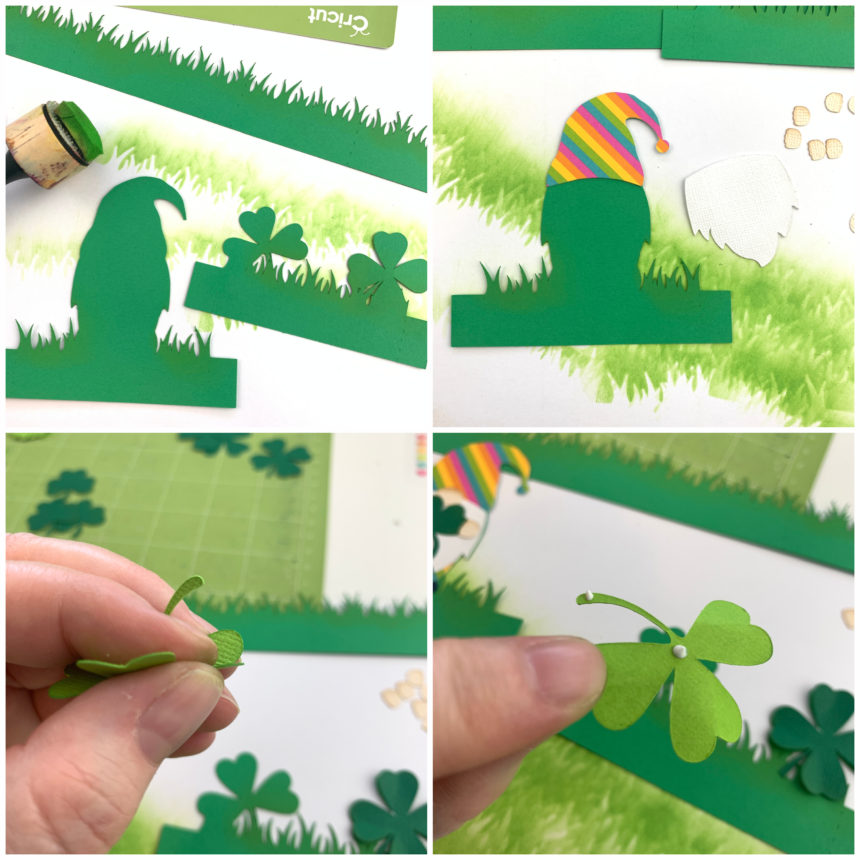

I wanted to give the shamrock insert a little more dimension so I gently folded the petals of the shamrocks then applied glue to just the centers and the very end of the steam and glued into place on the insert.
The long strip of grass is for the box. I folded all of the score lines in a mountain fold. Making sure all of my inking was on the out side of the box. Then I add glue to the tab and created the box.

For the inserts both tabs are valley folds. I glued the shamrock insert into place first. I lined up the edge of the tab against the front and bottom of the box. Then before the glue sets fold the box flat to make sure it will lay flat for mailing. I then glued in the gnome insert into place by lining up the bottom edge of the tab with the bottom edge of the box at about the center of the box. I also folded the box card flat before the glue set to make sure it would fold flat.

Once the inserts were in place I added the sentiment to the front with the remaining shamrock. Now he’s ready to brighten someone’s day! Thanks for stopping by!
Brandie


