Thank You Very Much!

Now that Christmas is over… what’s next? What’s more fitting than to tell all your loved ones “thank you” for all the generous gifts you’ve been given for Christmas? Our children need to learn to be thankful for the things they receive. Who are they going to learn it from?? Probably their mothers (and fathers). I have several card kits, card bases, and even quite a few “thank you” cards in the Silhouette Online Store and here in my shop. So, let’s get busy and make some cute cards with the kids this week and we can go into the New Year with a happy heart. I hope you’re all enjoying this fun week with the kids home!!
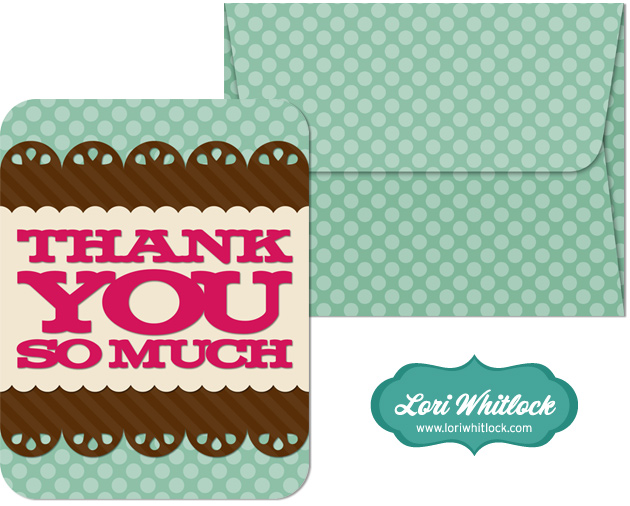
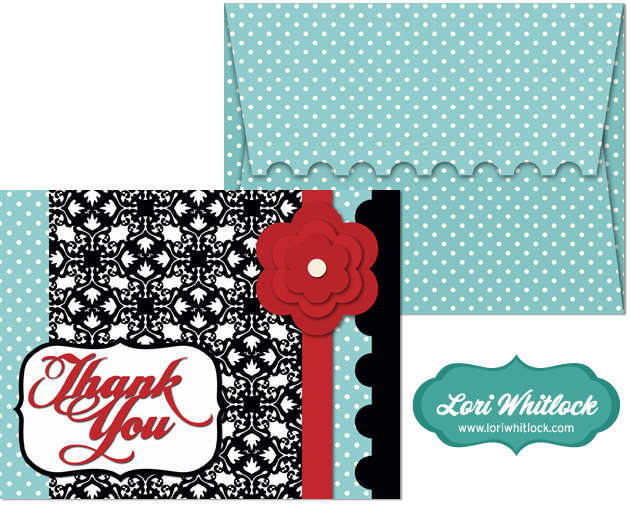
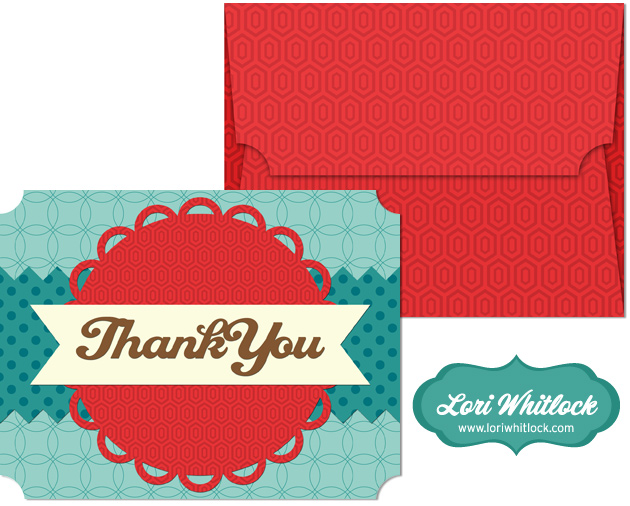
Today you’ll find 3 new designs in the Silhouette Online Store. I’ve created cards with coordinating envelopes. These cards measure 4.25×5.5 when cut as provided. And, the envelopes measure 4.5×5.75, so they hold these cards perfectly, but they could certainly be used for any card you make that will fit inside. I probably won’t have a chance to upload these to my store until next Tuesday, however if anyone needs them right away, please feel free to email me at info@loriwhitlock.com and I can get you what you need.

Have a GREAT day!!

Stocking Stuffers?

Are you ready for Christmas? If you’re looking for a cute little “stocking stuffer or last minute “packing idea” Joy has a fabulous idea for you. I really meant to post this earlier… but I figure it’s better late than never, right? Here’s what Joy has to say:

“I used the Bracket Closure Box file to create a stacked box display.  It’s ready for gift giving or just as a cute holiday decoration!  All paper is from Echo Park’s Seasons Greetings pack and the chipboard ornaments, snowflake and button are also by Echo Park.  After cutting the boxes using my Silhouette Cameo, I just added a bit of glue to the sides, folded and the box was assembled!  You’re going to love how easy they are to put together!  I tied two of the boxes using bakers twine.  The third box is secured with a glue dot.  The adorable Santa was printed from my printer and cut with my Silhouette.  Santa comes from Lori’s Christmas Set #2.  These boxes are perfect for holding small gifts, candy or even a letter to Santa!”

We all know that presentation makes such a difference in our gift giving. With the Silhouette Cameo or whatever machine you may have, it’s really easy to create a box to make your gift look amazing. Joy  created the cutest bracket window boxes and filled them with awesome treats/gifts that would make perfect little stocking stuffers, too.

Thanks JOY for sharing these cute ideas with us!

Have fun wrapping up your holiday gift giving this year. And most of all have a very Merry Christmas, EVERYONE!!

The Coolest Card EVER!!

It’s my birthday to day. So, I’ll keep this short and simple (my hubby is waiting to go out on a date).

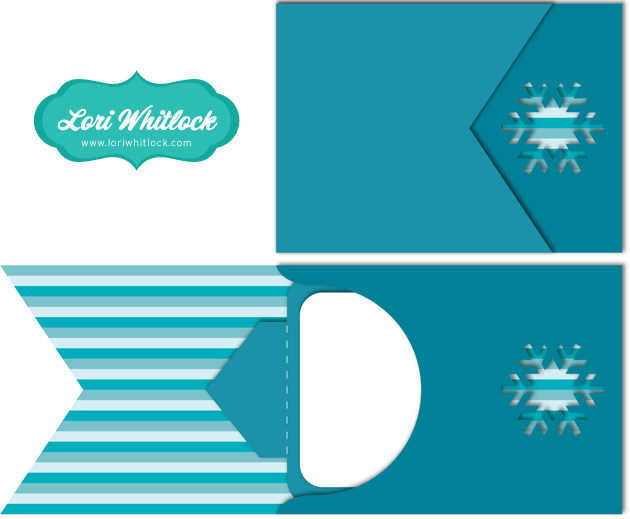
You’ll find a new card available this week at the Silhouette Online Store and right HERE in my shop. This cool card will amaze you and anyone you give it to!! When you pull up on the little tab at the top both the top and bottom slide out! You’ll want to go watch the video tutorial for assembly instructions. It’s a perfect card for giving after Christmas to thank all those who have so generously given us gifts this holiday season. And, remember even though it comes with the “thank you” sentiment and the snowflake, you can change the sentiment and the embellishments for any occasion.

This is a “book” box and it’s designed to fit 4×6 recipe cards or photos inside. You can find a tutorial right HERE. It’s made of double layered cardstock and it’s super sturdy and so cute all made up.

I’ve also added a few more boxes to the shop this week that can be used for Christmas or gifts/party favors this winter.

I hope you are all ready for this weekend and I hope you have a fantastic Christmas!

More Christmas Goodies

I designed a few more Christmas goodies for all you crafters out there that are looking to make something quick and easy this holiday season.

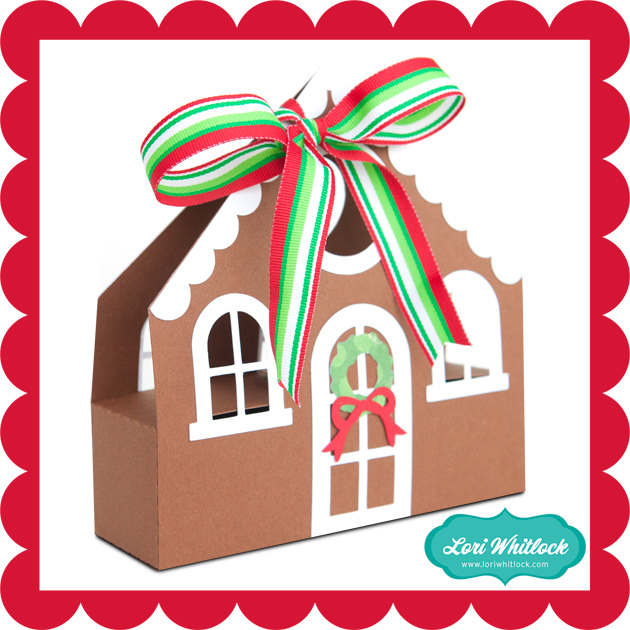
The first thing I’ll show you is a sweet little gingerbread house treat box tote (wow that’s a mouth full!). I created this little tote thinking it’d be cute to deliver a few treats to a neighbor. Wouldn’t it be cute with a little tag attached saying “Merry Christmas from Our House to Yours!” I thought it’d be cute for my little girl to take these around to her friends filled with M&M’s, some lipgloss, or hand lotion. And, the best part… I’ve created a video tutorial for you right HERE. It sounds like those are helpful so I’ll try to keep making them for new shapes that are more complicated. You’ll find this cute tote at the Silhouette Online Store and the SVG/DXF files right HERE.

Oh, and if you really want to be nice, you could attach a gift card to the house tote using these darling little gift card holders…

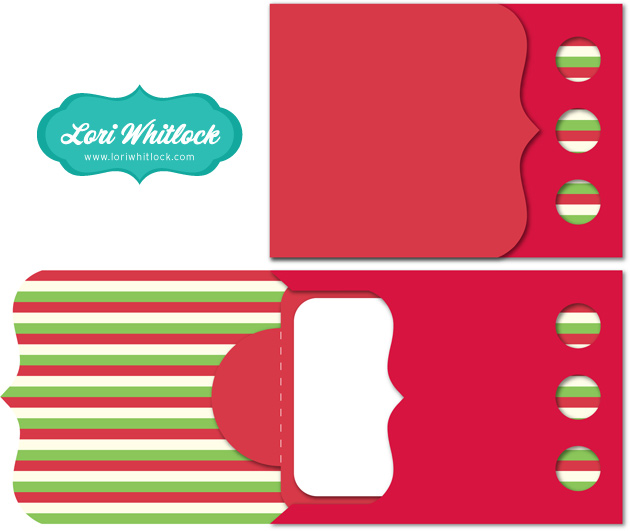
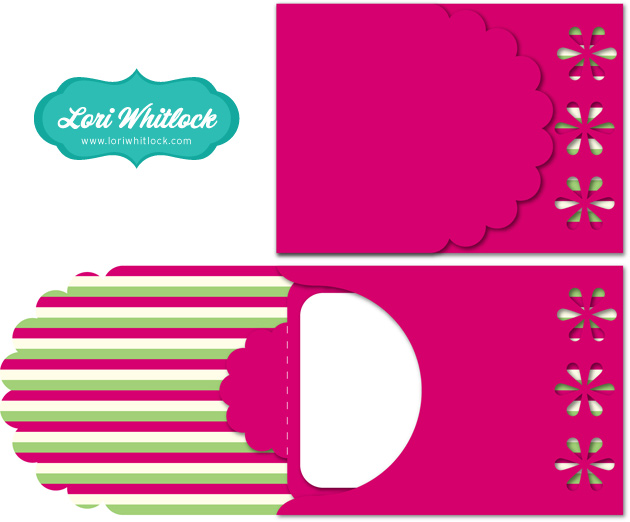
Today I created another set of gift card holders that are a “pull-out” style. They’re so cute and would make a great stocking stuffer!! They would be easy to slip in an envelope and mail or attach to a package. They are assembled similarly to the sliding gift card holders (there’s a video Part 1 & Part 2 for those), but these simply pull out. You’ll find them in the Silhoutte Online Store for all the Silhouette owners out there. And for everyone that needs SVG and DXF files you can find these files right HERE, HERE and HERE in my online store. Check them out…

I hope you enjoy making these new items for the holidays : )
Have a great day!

Sliding Gift Card Holders

I just released a really FUN concept at the Silhouette Online Store today! I’m SO excited to share this with you. I created a series of sliding gift card holders. I LOVE these little cuties!! They are just so darn fun to open and close!! And, for the FIRST time ever… I’ve attempted to create an instructional video for assembly. Please don’t laugh! If it works out… I’ll do more of these videos for new shapes that are more complicated to assemble. The link to the video is at the bottom of the post. If you’d like to purchase the .svg files you can find them HERE, HERE, and HERE in my shop. All of the samples feature Echo Park paper!

Video Instructions: Part 1 HERE and Part 2 HERE. These gift card holders should be added to my online shop sometime tomorrow. Have a great day!

UPDATE: I’ve embedded the videos right here in the post for your convenience: