FRIDAY $5 Bundle!!

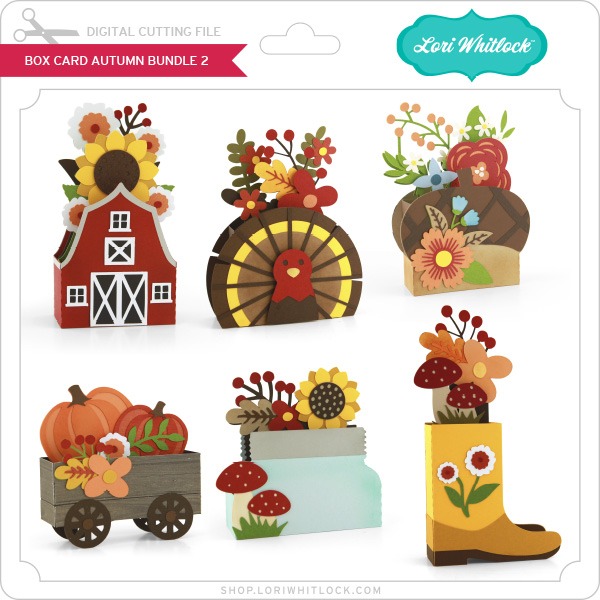
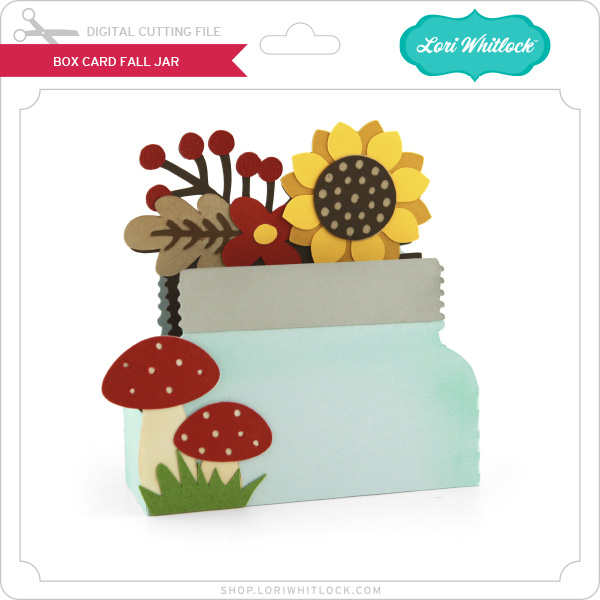
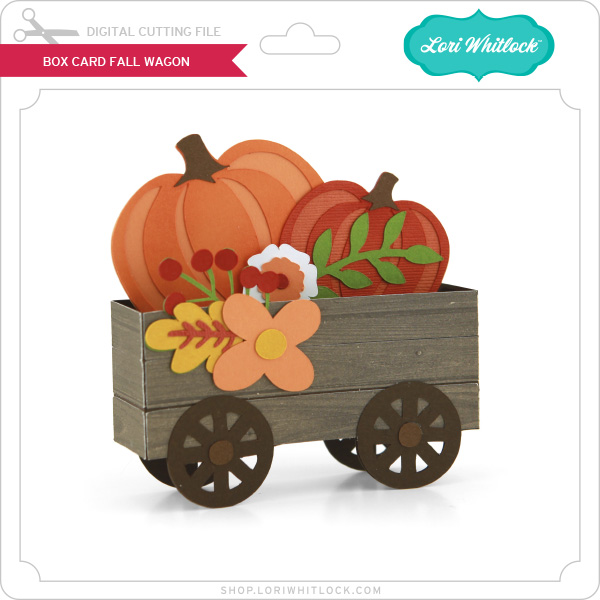
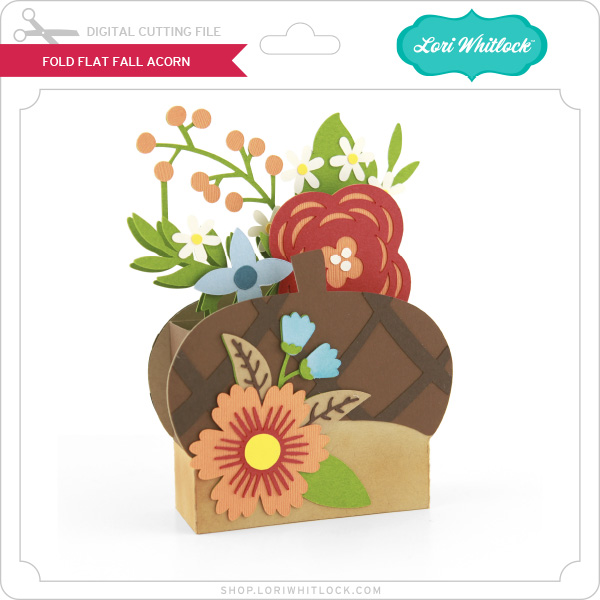
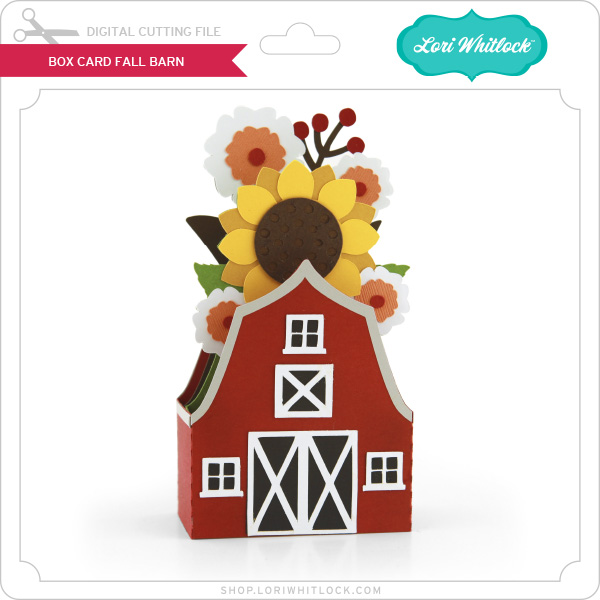
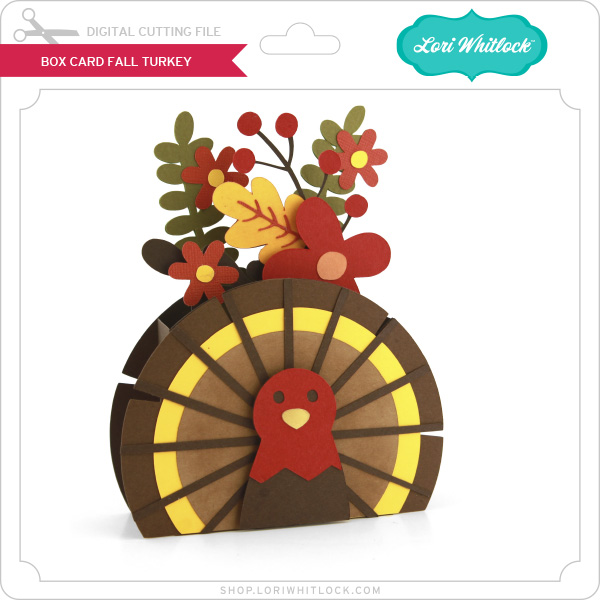
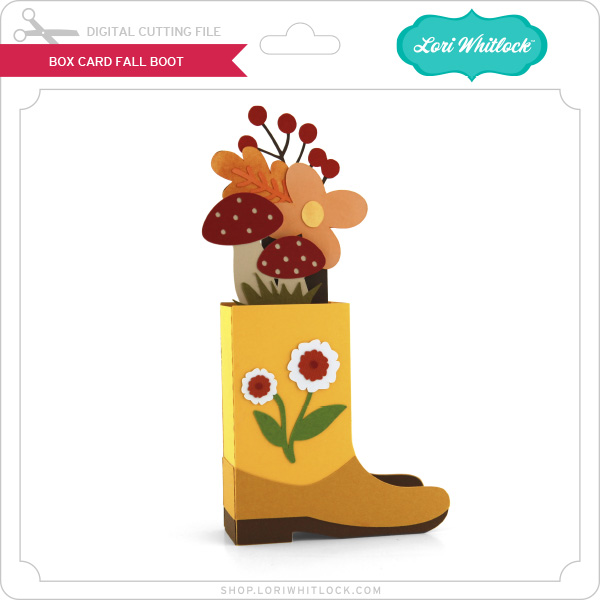
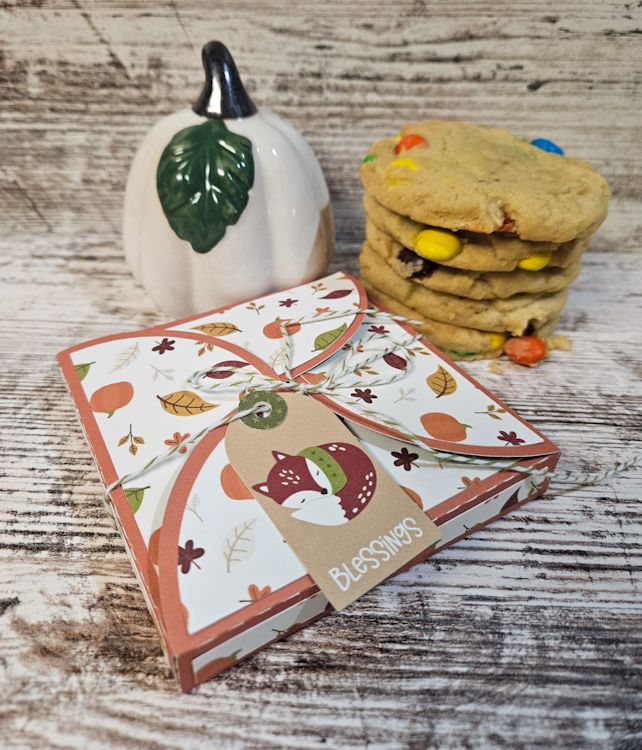
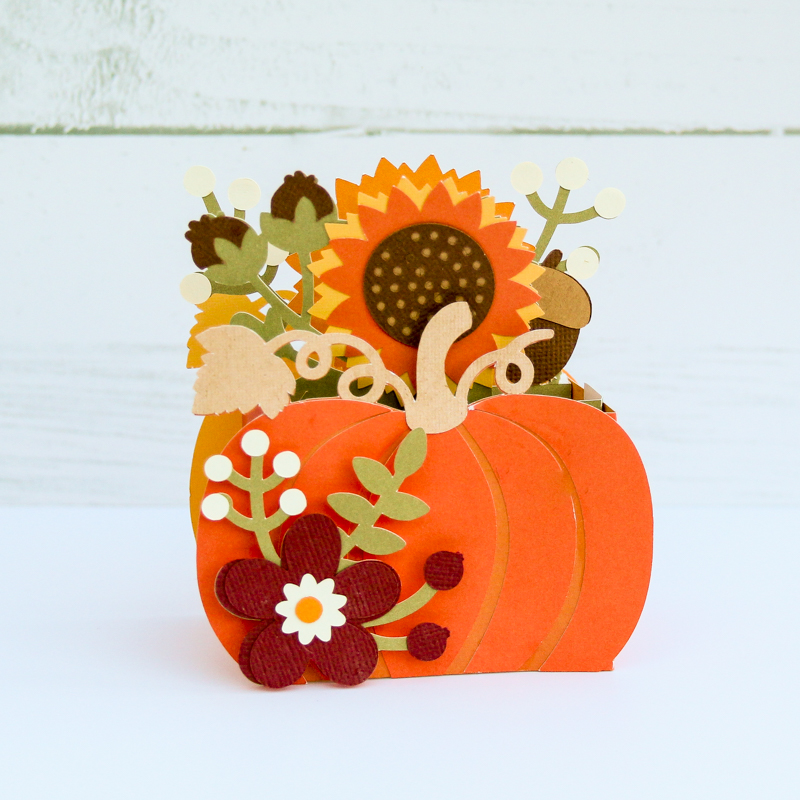
Our latest $5 Bundle went up this morning. Did you get a chance to check it out? This week, we have an adorable combination of fall and Halloween envelope box cards for you. This bundle disappears on Sunday night. Also, don’t forget our sale for other items ($5 bundle not included) and our contest that ends tomorrow, Saturday night, at midnight MST. So much is happening!

Have a great weekend!

P.S. The tutorial for these is here.

3D Pumpkin Haunted House Tutorial

Hi everyone!

You probably saw these great 3D pumpkins in the shop. Today I’m sharing a tutorial to put them all together.

3d Pumpkin Haunted House (SVG, Silhouette)

1. Cut out all the pieces.

 2. Apply adhesive to the panel, and adhere the vellum pieces to each panel.

3.  Attach the pumpkin and haunted house pieces together by lining up the notches.  You will first use this piece with notches on top and bottom.


Top View

4. Now install the top and bottom black circles.  Be sure to securely line them up with the notches in the pumpkin pieces.

5. Now install all the panels. Be sure to tuck in a tea light or fairly lights.

And now you have a great decor piece.  The house looks good from both sides, so it is a perfect table piece.

Take advantage of the sale, and add these 3D pumpkins to your stash.

Have a great day!

Ashley

October Blog Hop! 30% OFF!!

We’re thrilled to launch the October 2024 Creative Team Blog Hop! Our amazing team has been busy creating some stunning new projects that are sure to spark your inspiration this fall.

To make things even more exciting, we’re offering a fantastic 30% OFF SALE at Lori’s SVG SHOP on all digital files and commercial licenses until Saturday, October 12th! Just use the code OCT2024 (don’t forget, it’s case-sensitive).

But wait, there’s more! We have a special freebie for you and an incredible giveaway you won’t want to miss.

Join us, dive into the fun, and let your creativity shine! Happy crafting!

As a huge thank you for joining the hop and spreading the joy with your friends, we’ve got a special gift just for you! For TODAY ONLY, you can get this amazing Fence Mailbox Pop Up Card SVG file completely FREE. Don’t delay—add it to your cart and it’s all yours at checkout!

***CLICK HERE TO SEE ALL THE NEW FILES***

How about a giveaway? Yay! Watch for the winner to be announced right on the entry form found on this blog post. The winner will receive an email.

And, last but not least… would you like to see what our amazing team has created? Click the links below for some wonderful inspiration. If you get lost come back here to get on track Lori Whitlock you are here), Brandie Adams, Ashley Cook, Cathy Harper, Chelsea VanWyk, Sue Kment, Noelene Apap, Tamara Tigchelaar.

Thanks again for dropping by! Have a GREAT day!

~Lori


80th Birthday Card

Last weekend we got to celebrate the 80th birthday of my fiance’s uncle, Dennis. Perfect oppertunity to make this fun card.

I used the pop up birthday card (SVGSilhouette). I changed the Happy to a writing image rather than a cut. You know me and those little tiny letters. I used papers from the Echo Park Dino-Mite Collection. 


Such a fun bright card. The SVG from Lori’s shop comes with birthdays 30, 40, 50, 60, 70 and 80 so it’s a versatile SVG that you can use over and over.

Thanks for stopping by and Happy Crafting!!

Chelsea

3D Lantern Bats Tutorial

Hi there! Thanks for stopping by today. I am sharing an assembly tutorial for the 3D Lantern Bats (SVGSilhouette) file. This cute lantern has several versions and makes a cute decoration for Halloween. For one lantern you will need two sheets of cardstock. I also used a few scrap pieces of cardstock to make some fall leaves for embellishment.

Once all my pieces were cut, I folded all of the score lines as mountain folds. I then glued all of the D ring shapes together. The lantern body is one piece with one long tab, I added glue to the tab and lined up the opposite edge of the lantern body to the tab. After the glue was set, I flipped the lantern over and added a generous amount of glue to all the bottom tab and folded over the base and applied even pressure while the glue set.

For the base I flipped the base piece over so that the top is on the bottom. I then glued the two longest tabs together. I then added glue to the other long rectangular tabs and folded up the side to secure. Back to the first side I glued I applied glue to the side of the base and held in place. For the flap with the large hole, I only applied glue to the opposite tab. This is to create a sleeve for a battery tea light.

I then slid the square with the small tab through the sleeve to cover the large hole in the bottom. I then flipped the base over and add a generous amount of glue to the bottom of the lantern body and secured the base. I used the two small holes to line up the body to the base.

 
For the top small box for the lid the of the lantern I flipped it over and pushed all of the rectangle shaped tabs back into mountain folds (this helps keep them out of the way while I glue the box together). I added the D ring between the notches. I added glue to the square tabs and held in place while the glue set. I also glued the c shaped piece together by adding glue to just the tab.
Once the small box was dry and set, I pushed all the small tabs through the square in the roof of the lantern and added glue to the small tabs on the inside of the lantern roof. I then added glue to the tabs on the top of the lantern body and held the roof on with even pressure while the glue set.
After the lantern was dry, I cut some oak leaves (SVG, Silhouette) and inked the edges of the lantern. I used some chiffon ribbon for a bow and glued on the oak leaves.

I had a little ballon light to my lantern to get the bats to cast on the walls and shelf.

This would be a fun addition to a Halloween table or tiered tray display. Thats all for me today. Thanks again for being here.

Brandie